


STAR TREK: LOWER DECKS
SEASON 4, EPISODE 7
SEASON 4, EPISODE 7
A Few Badgeys More
 Series: Star Trek: Lower Decks - (2020 - 2024)
Season: 4
Episode #: 7
Original Airdate: October 12th, 2023
Writer(s): Edgar Momplaisir
Director(s): Bob Suarez
Special Guest Stars
Jeffrey Combs as "AGIMUS"
Guest Stars
Kether Donohue as Peanut Hamper
Jack McBrayer as Badgey
Jack McBrayer as Goodgey
Jack McBrayer as Logic-y
Jessica McKenna as Ensign Barnes
Paul Scheer as Lt. Commander Andy Billups
Paul Scheer as Drookmani Crewmember
Eugene Cordero as Daystrom Institute Worker
Fred Tatasciore as Tyrannikillicus
Fred Tatasciore as the Drookmani Captain
Stardate: 58934.9
Synopsis
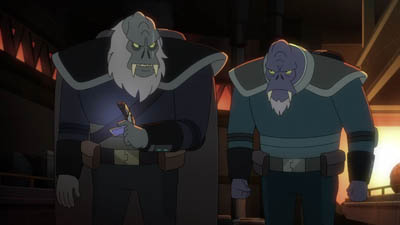
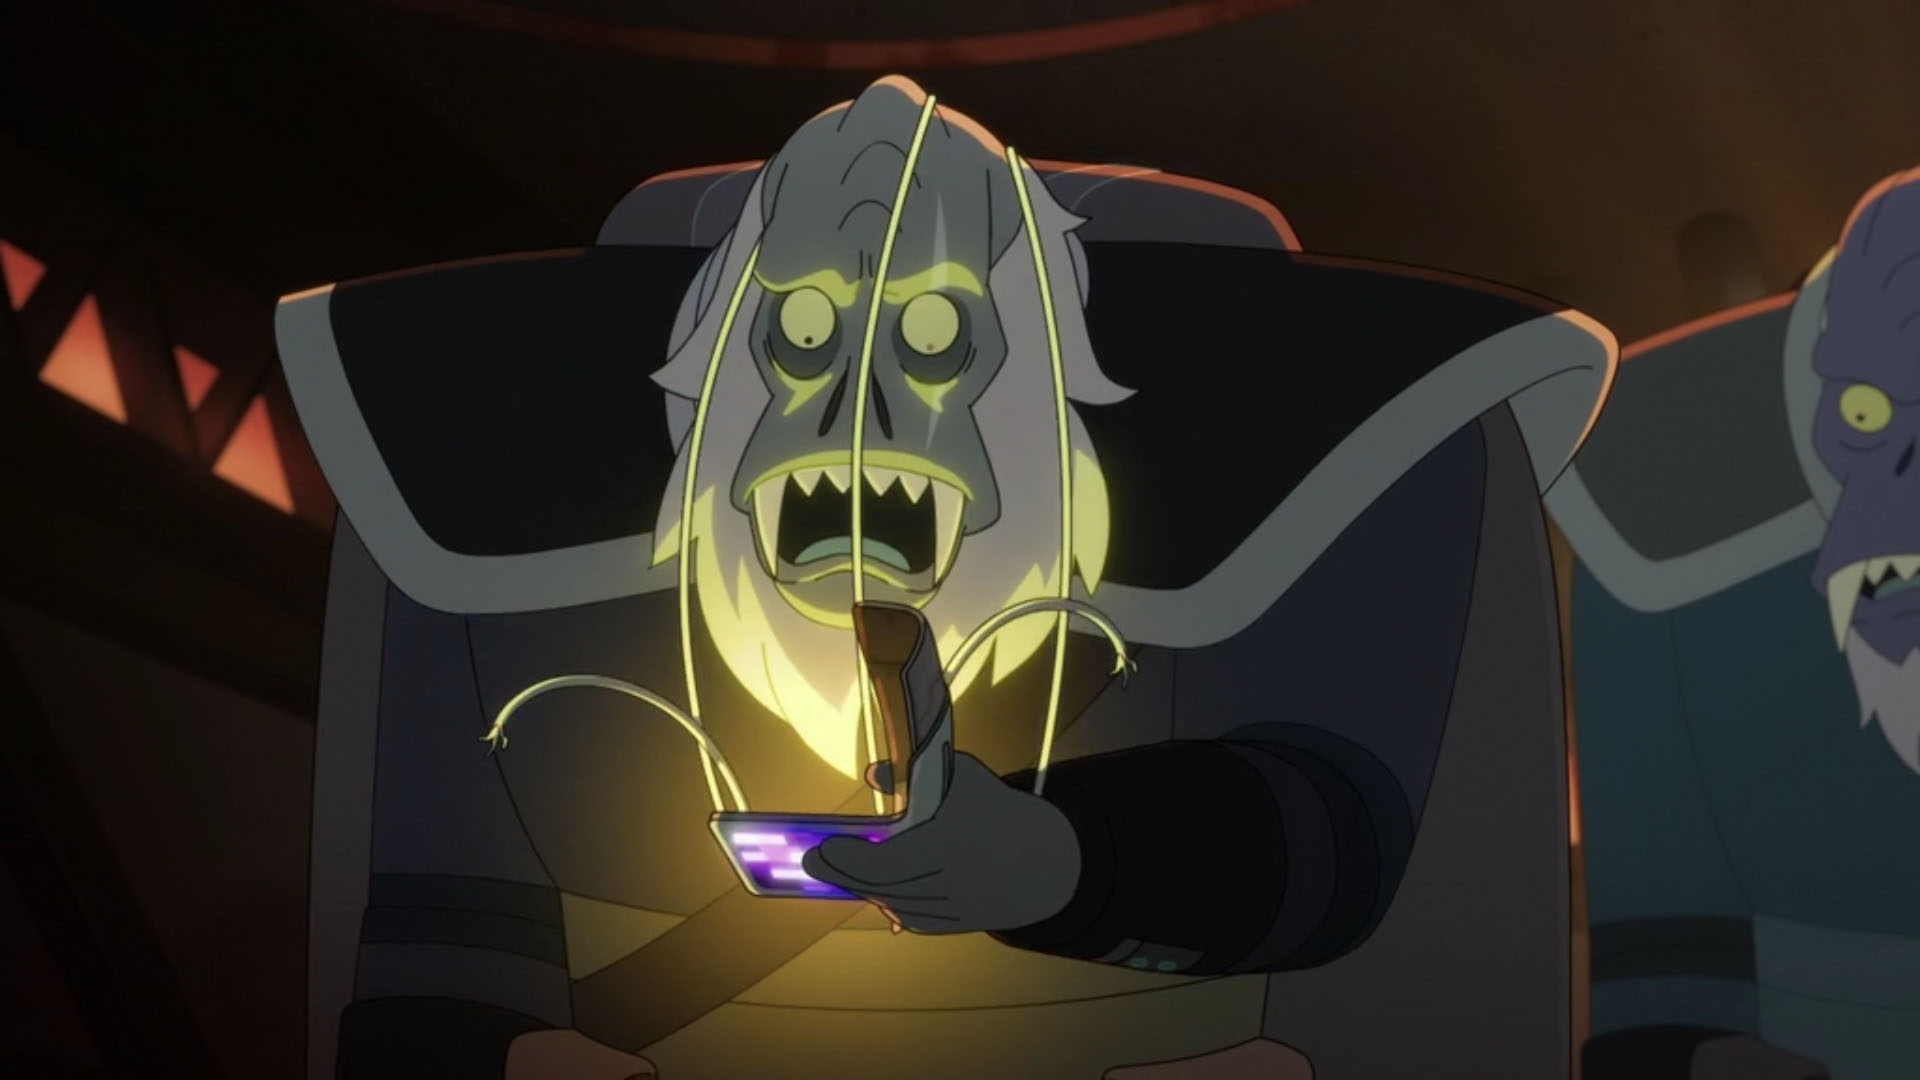
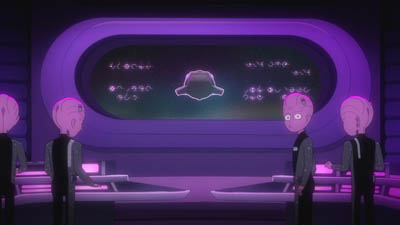
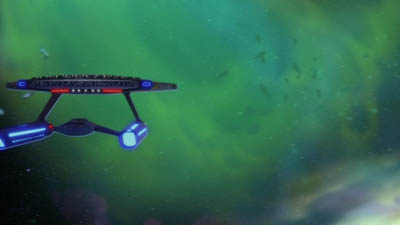
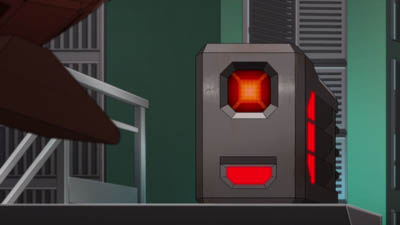
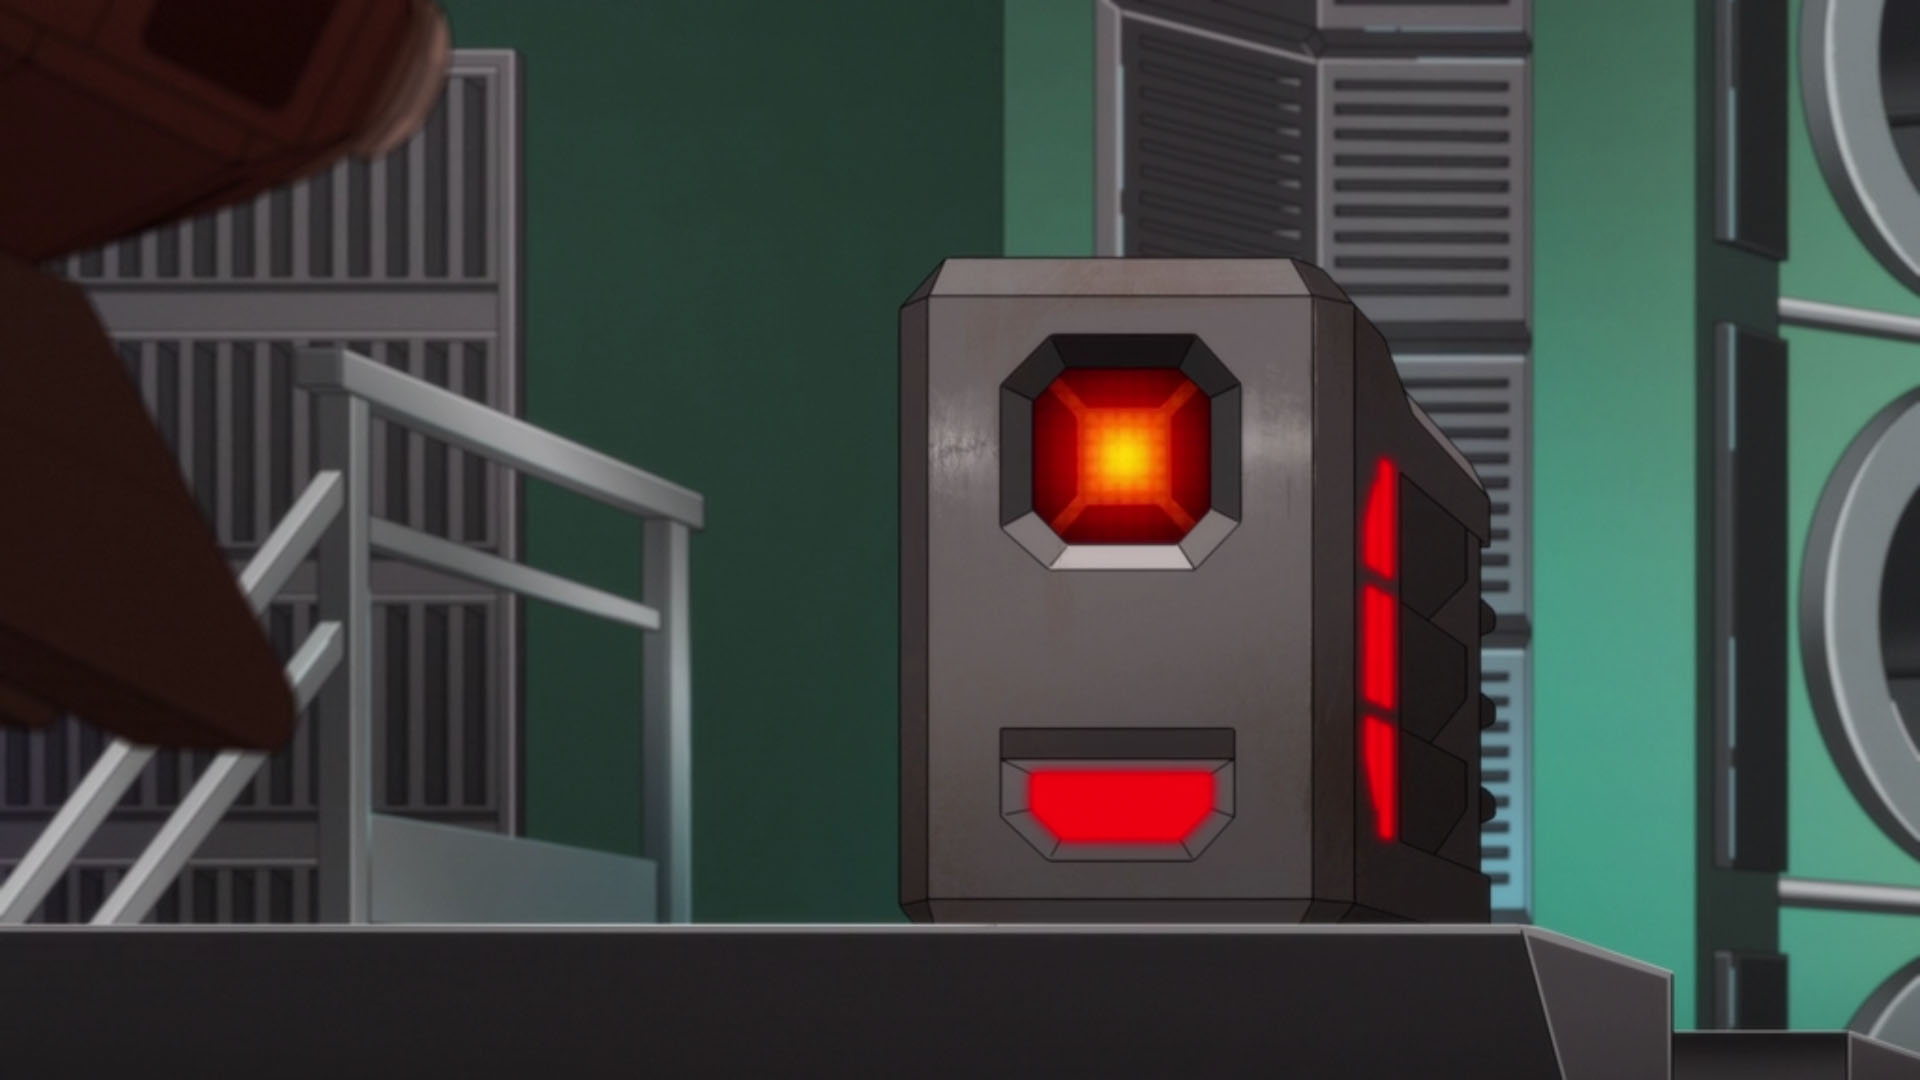
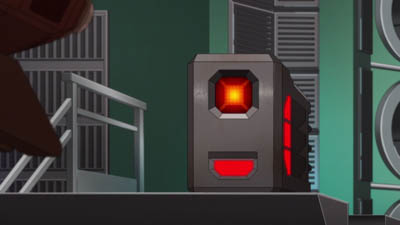
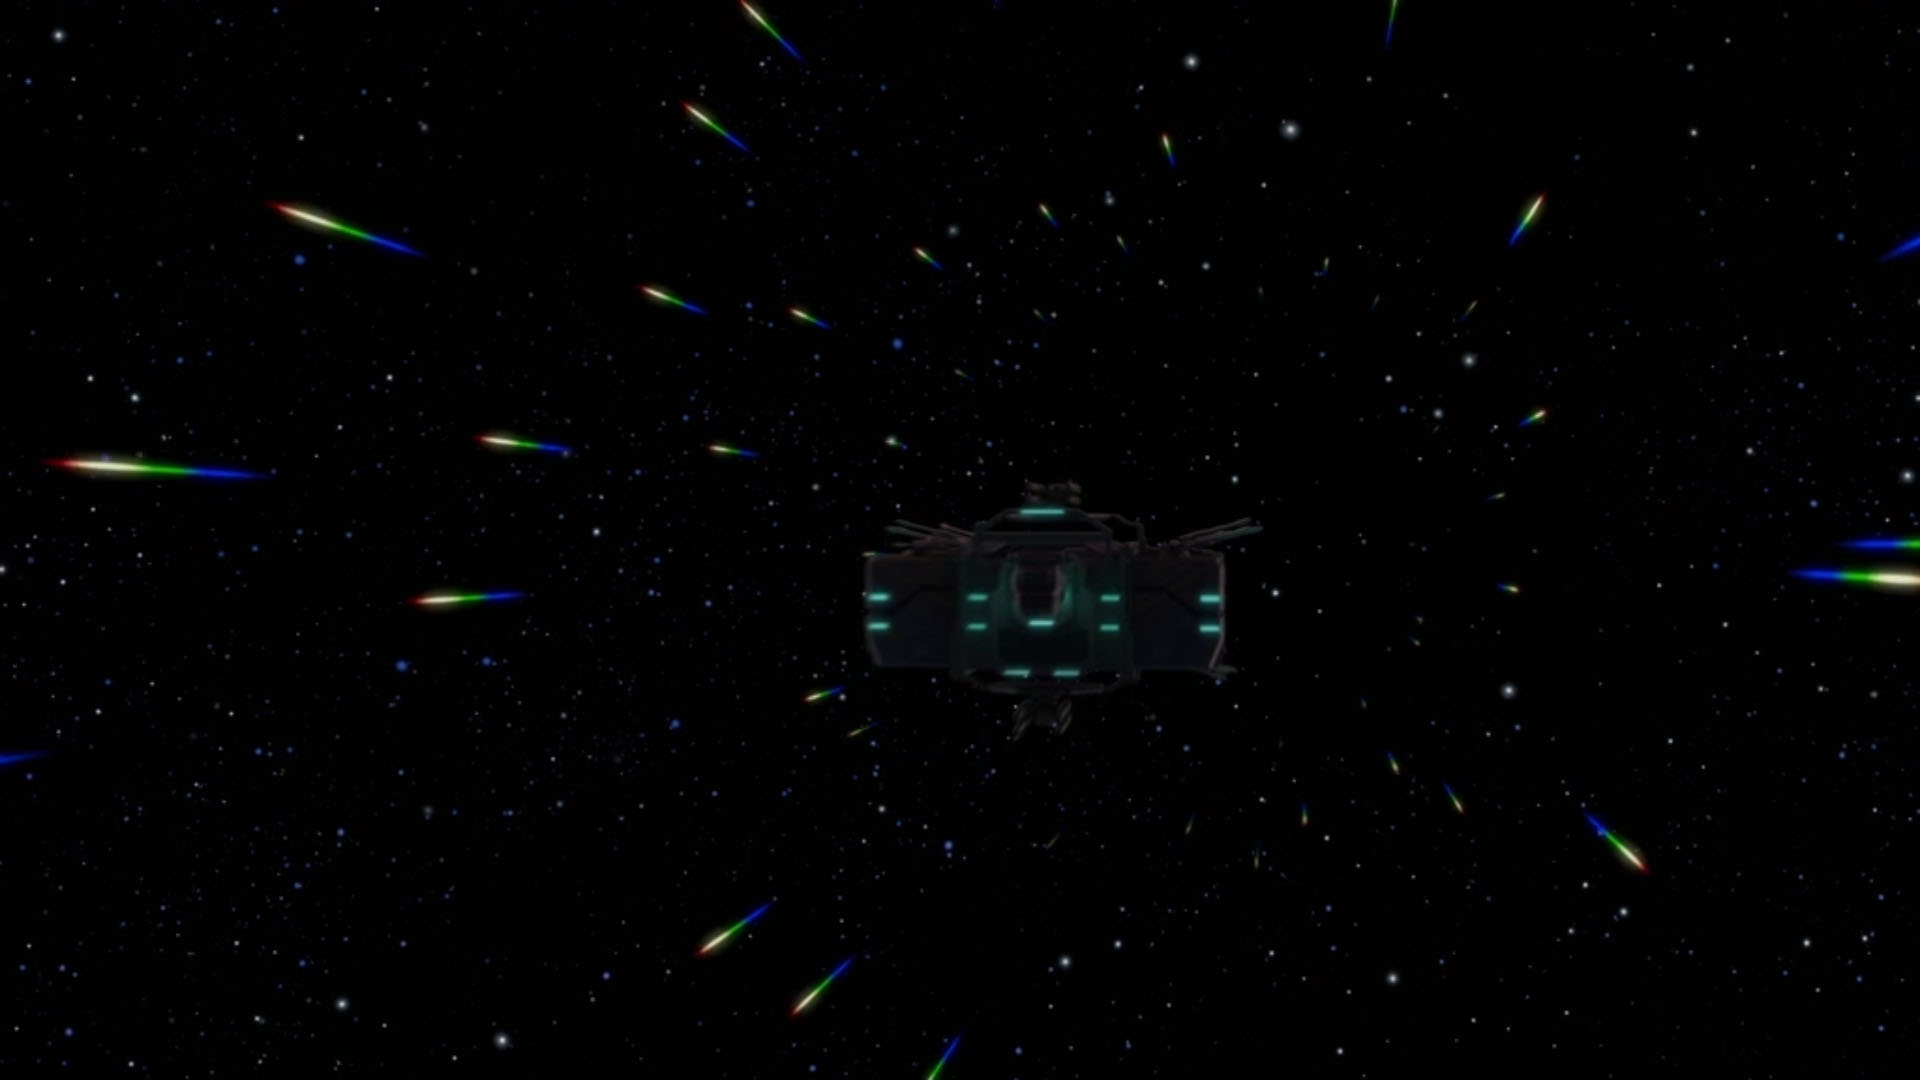
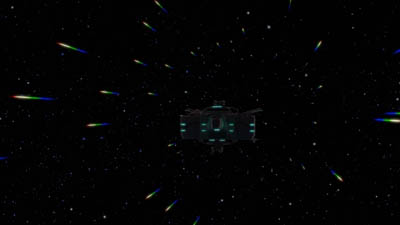
In the Kalla System, a Drookmani ship is salvaging Starfleet wreckage. It includes a circuit containing Badgey, who extrudes wires that take over the Drookmani captain. Elsewhere, a Bynar spacecraft encounters the mystery ship and suffers the same fate as other ships; total destruction.
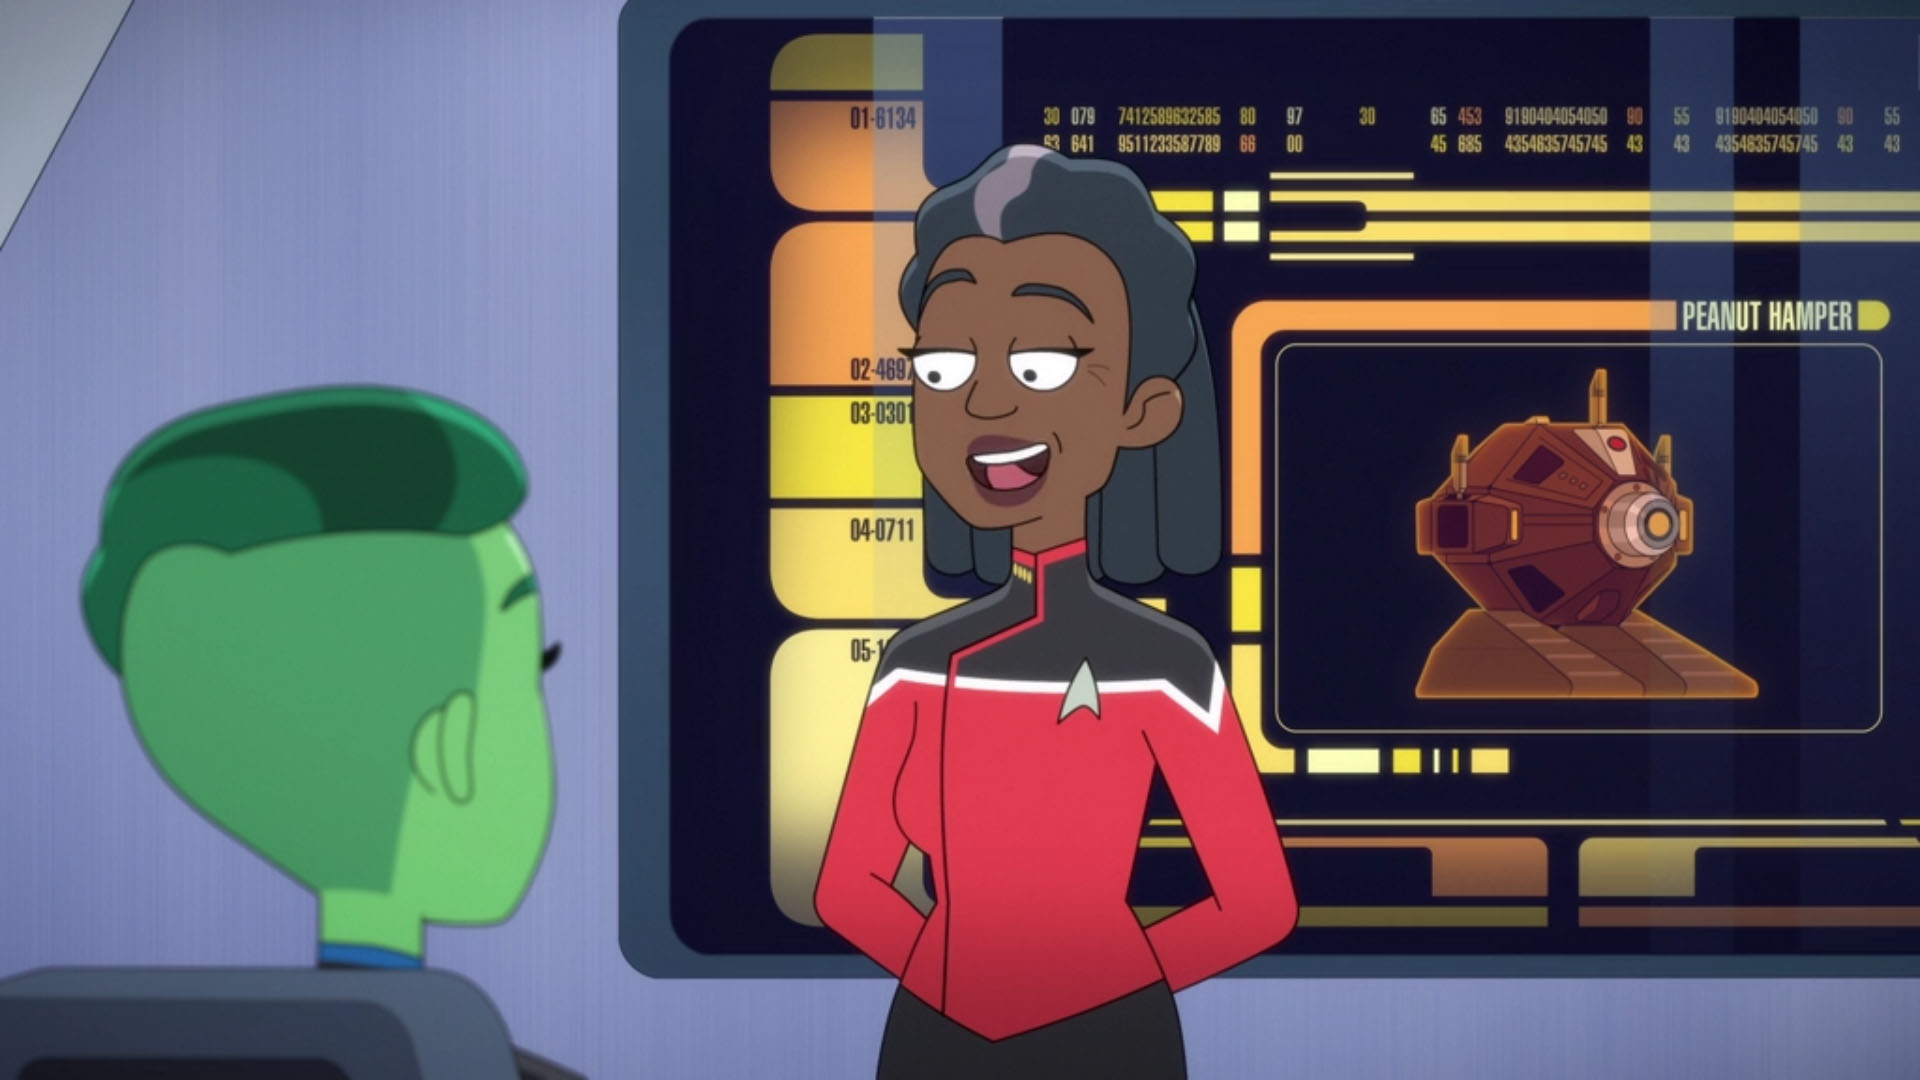
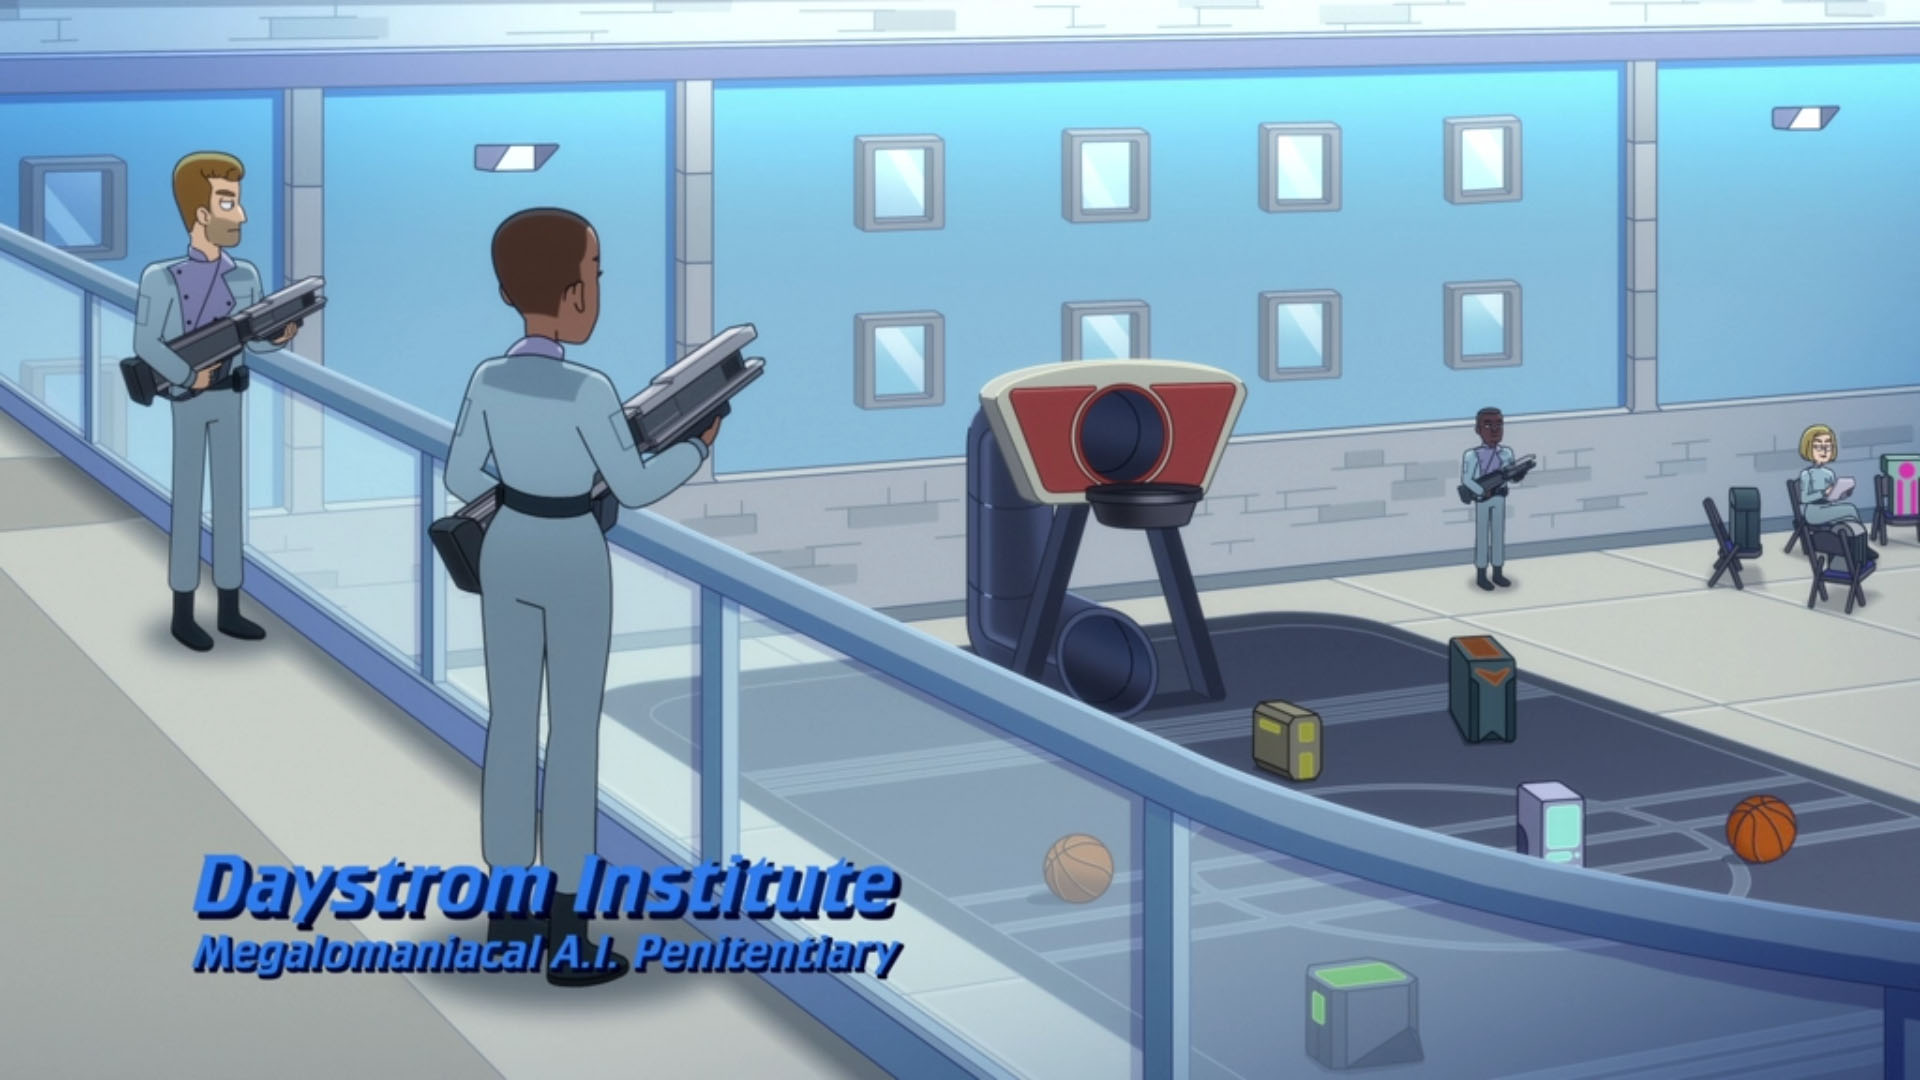
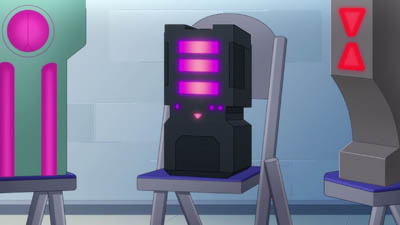
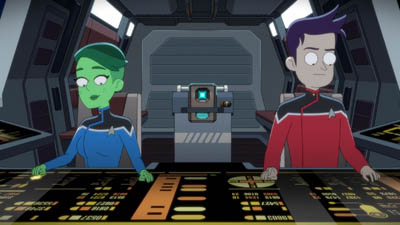
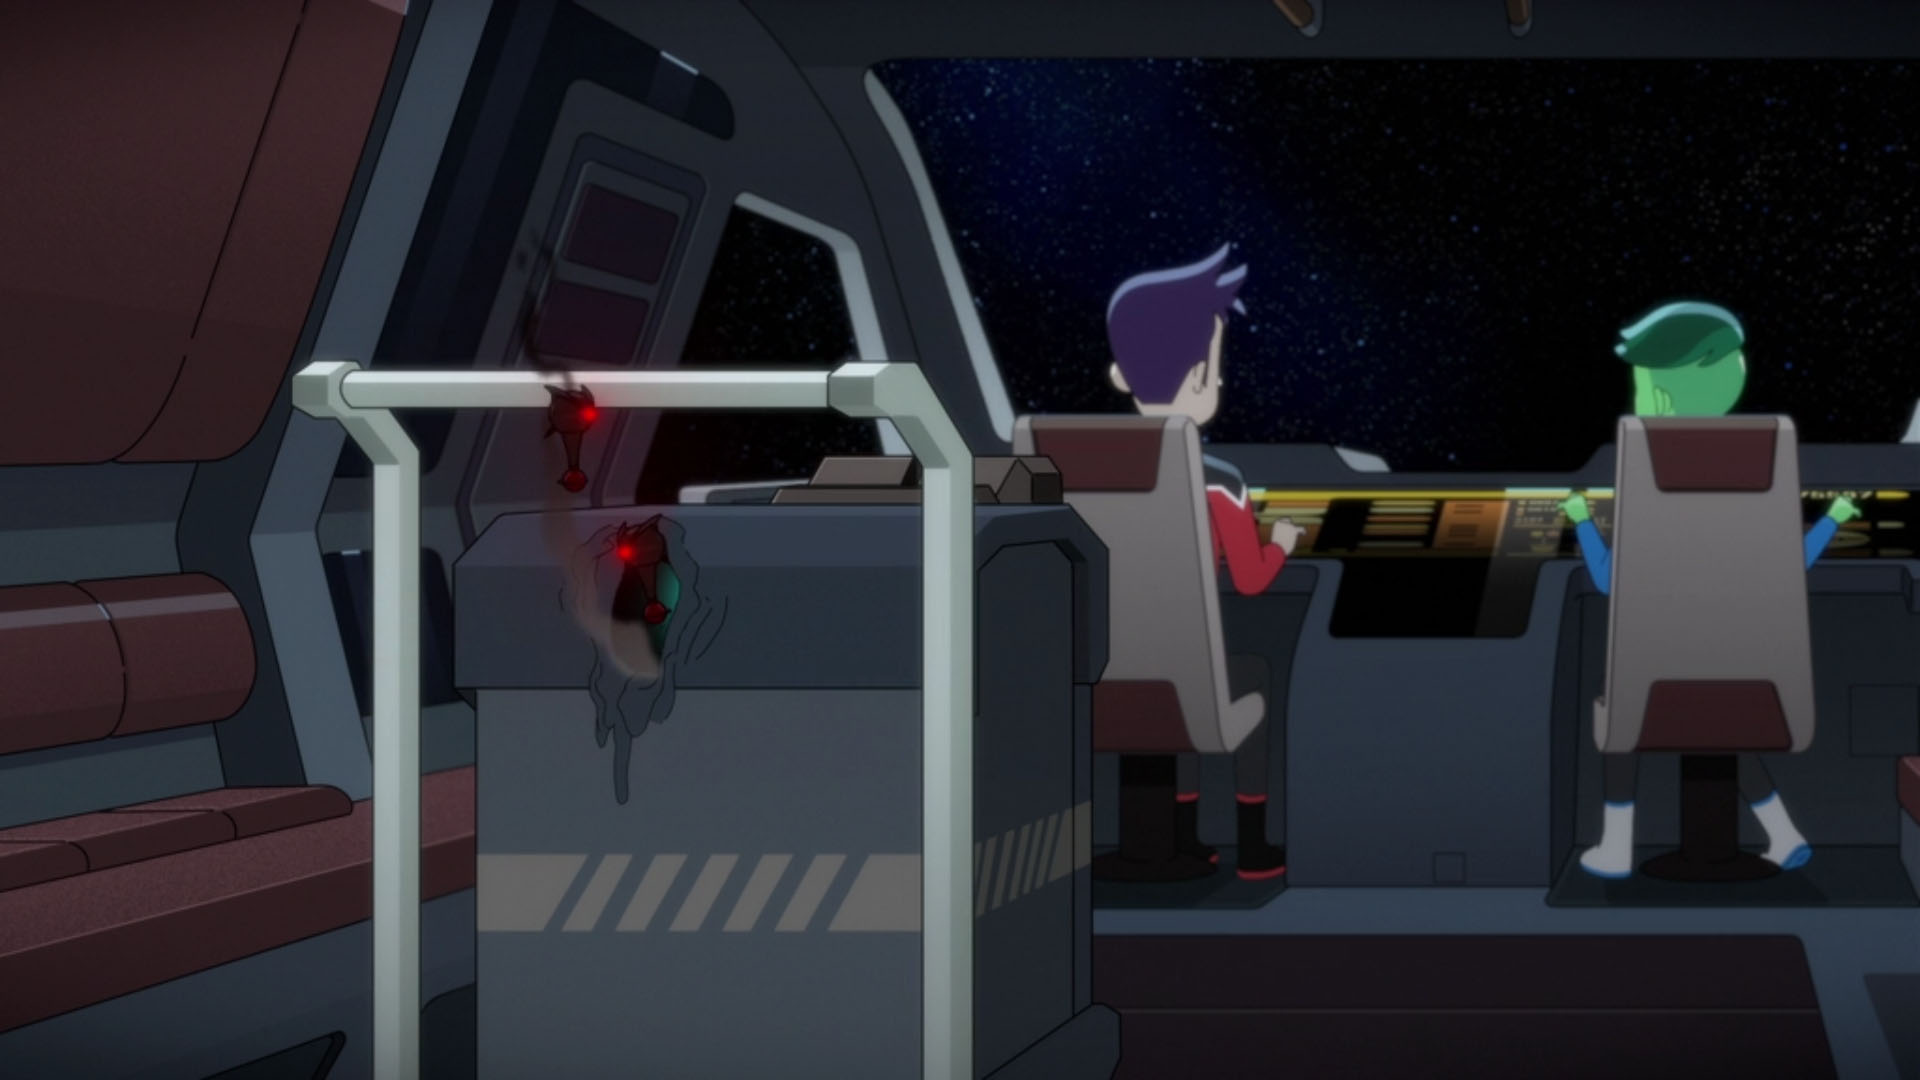
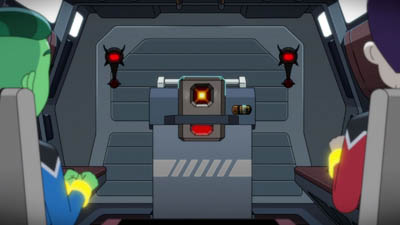
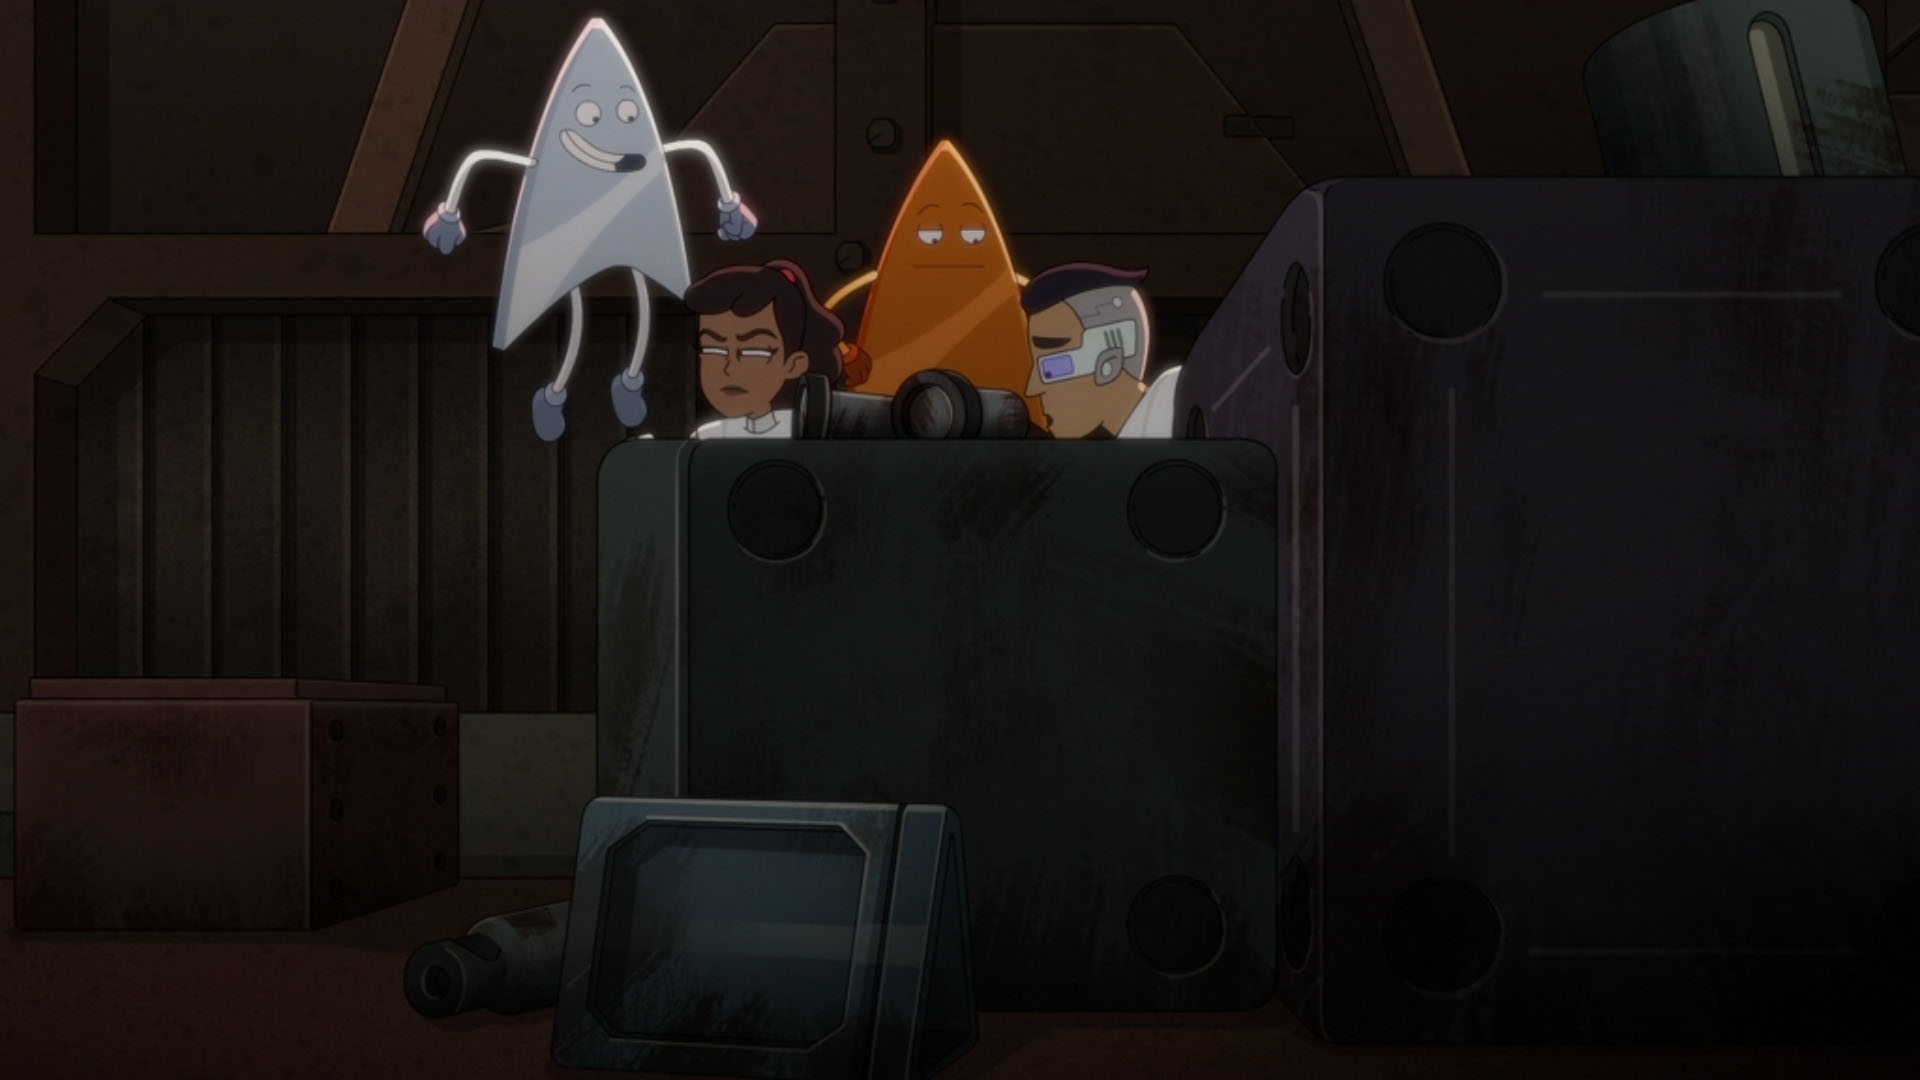
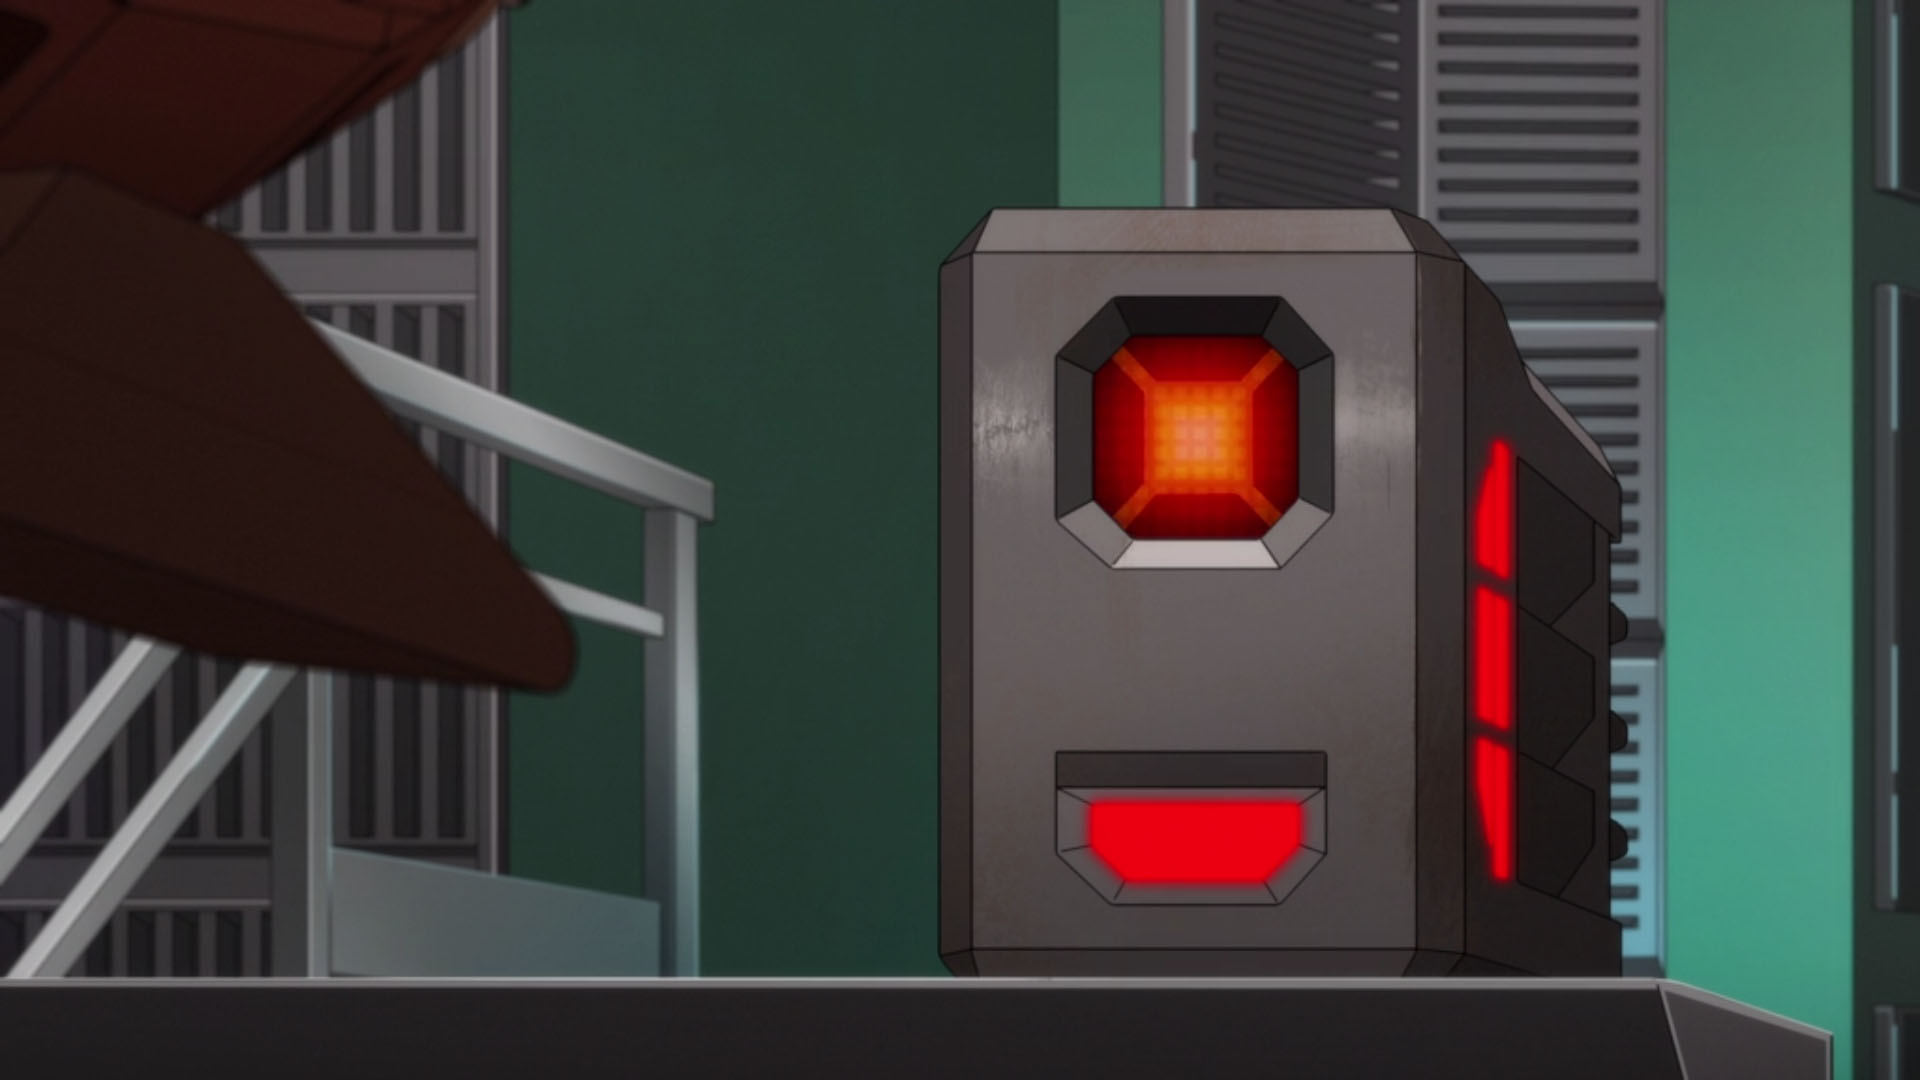
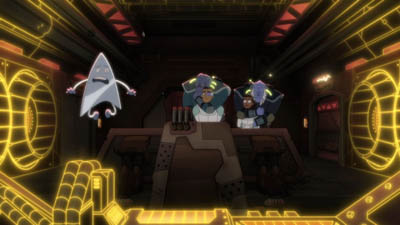
Aboard the Cerritos, Rutherford is trying to fit a grappler to a shuttle, which accidentally impales Tendi. While the Cerritos investigates the Bynar attack, Tendi and Boimler will be going to the Daystrom Institute for Peanut Hamper’s parole hearing. Agimus claims he has vital intel about the attack which he will only tell Boimler, whom he has amusingly dubbed the “stringy ensign meat pipe.” In the Institute’s garden, Peanut Hamper and Agimus have found life as easy to create as destroy. They intend to escape, with Peanut Hamper lying and Agimus turning his red lights to blue. Peanut Hamper and Agimus are brought out of a Lassie film screening. Agimus alleges that one of his drones witnessed the Bynar incident but that he needs physical access to recover the data. Persuaded by his reassuring blue lights, Boimler reluctantly agrees.
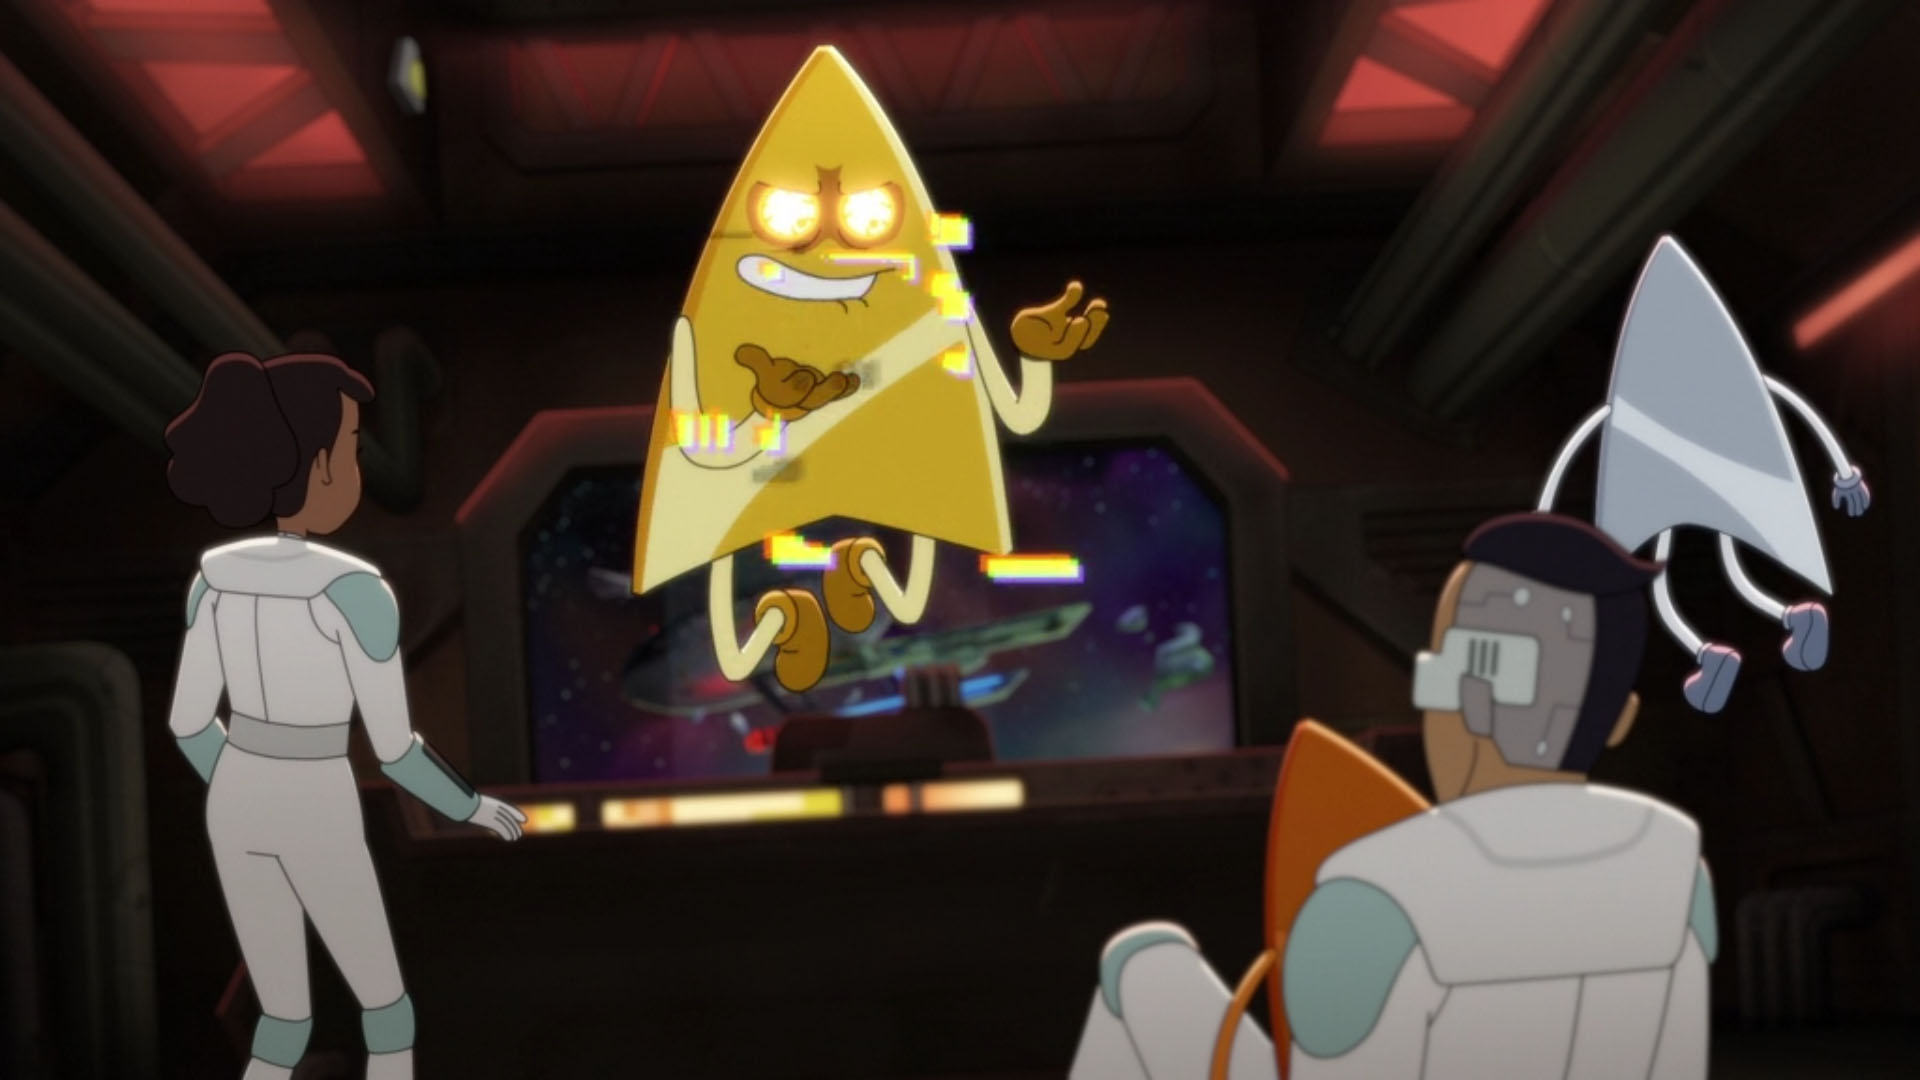
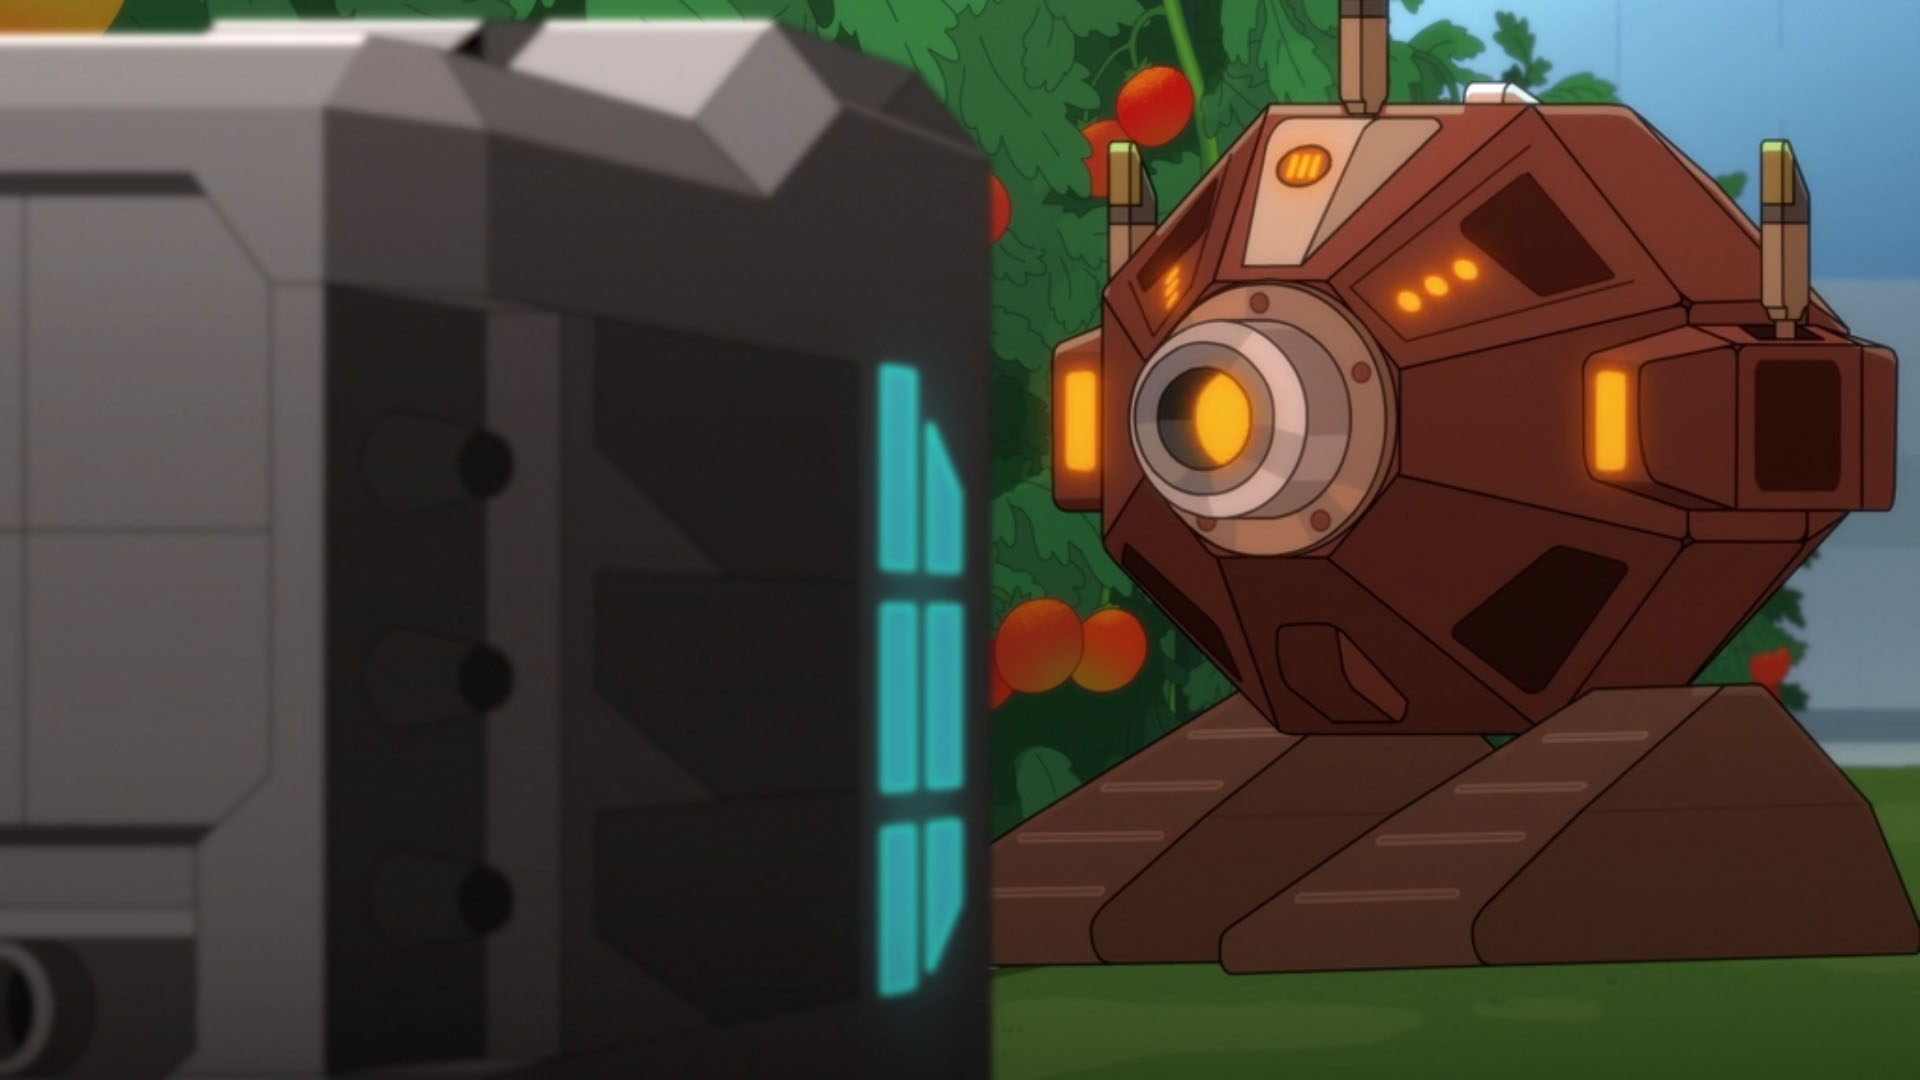
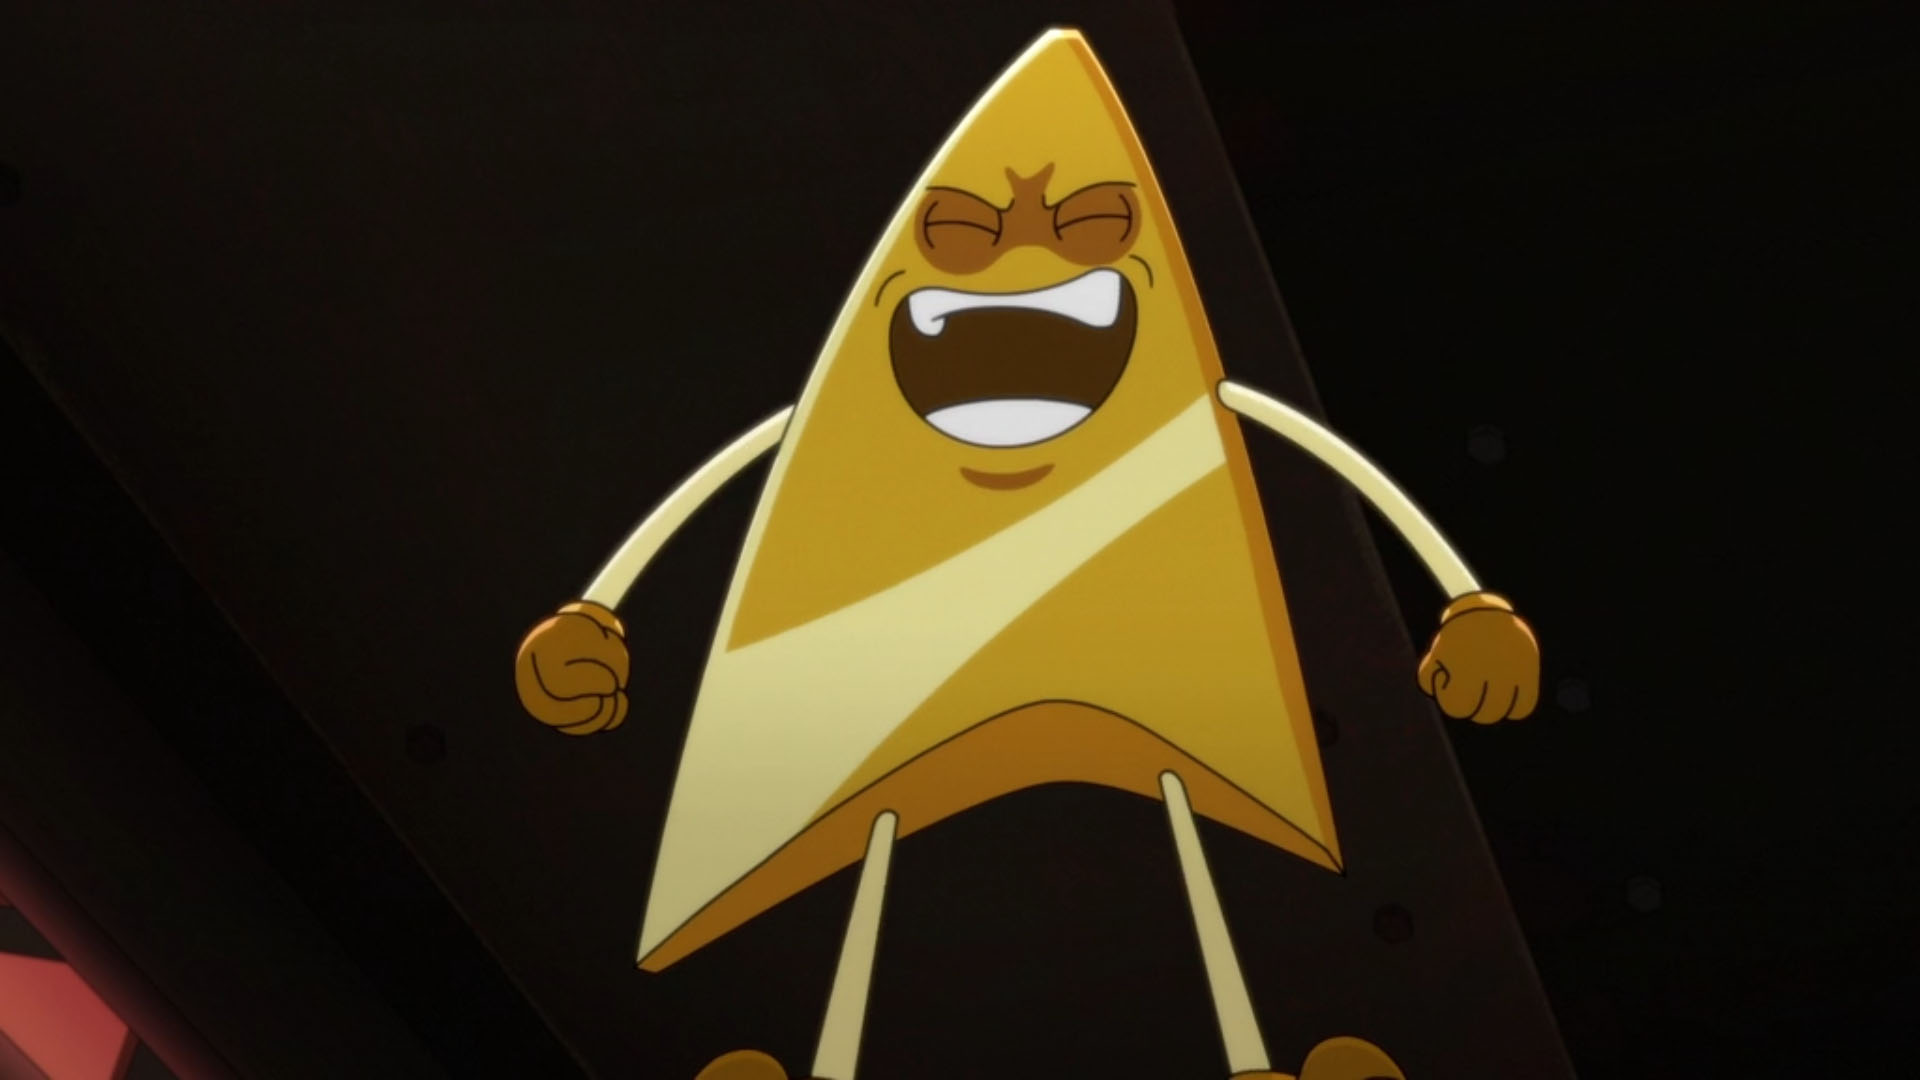
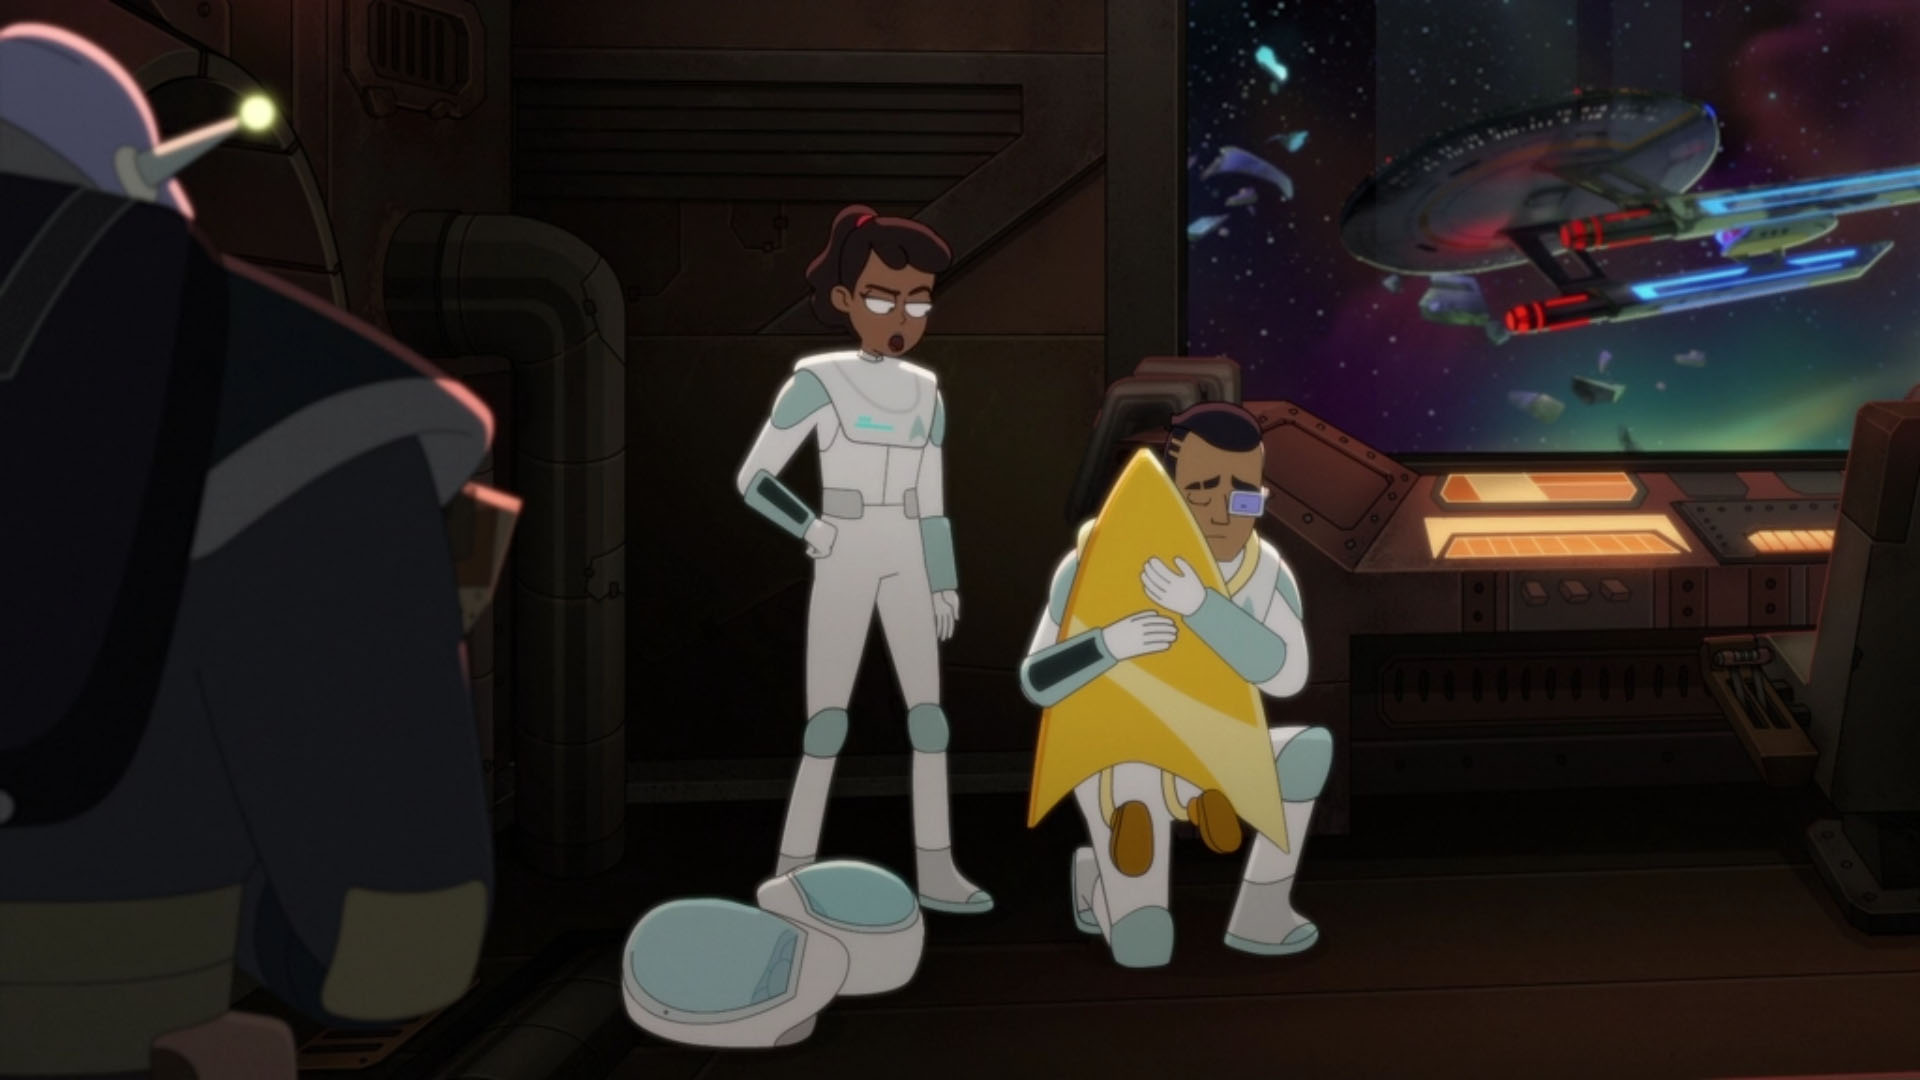
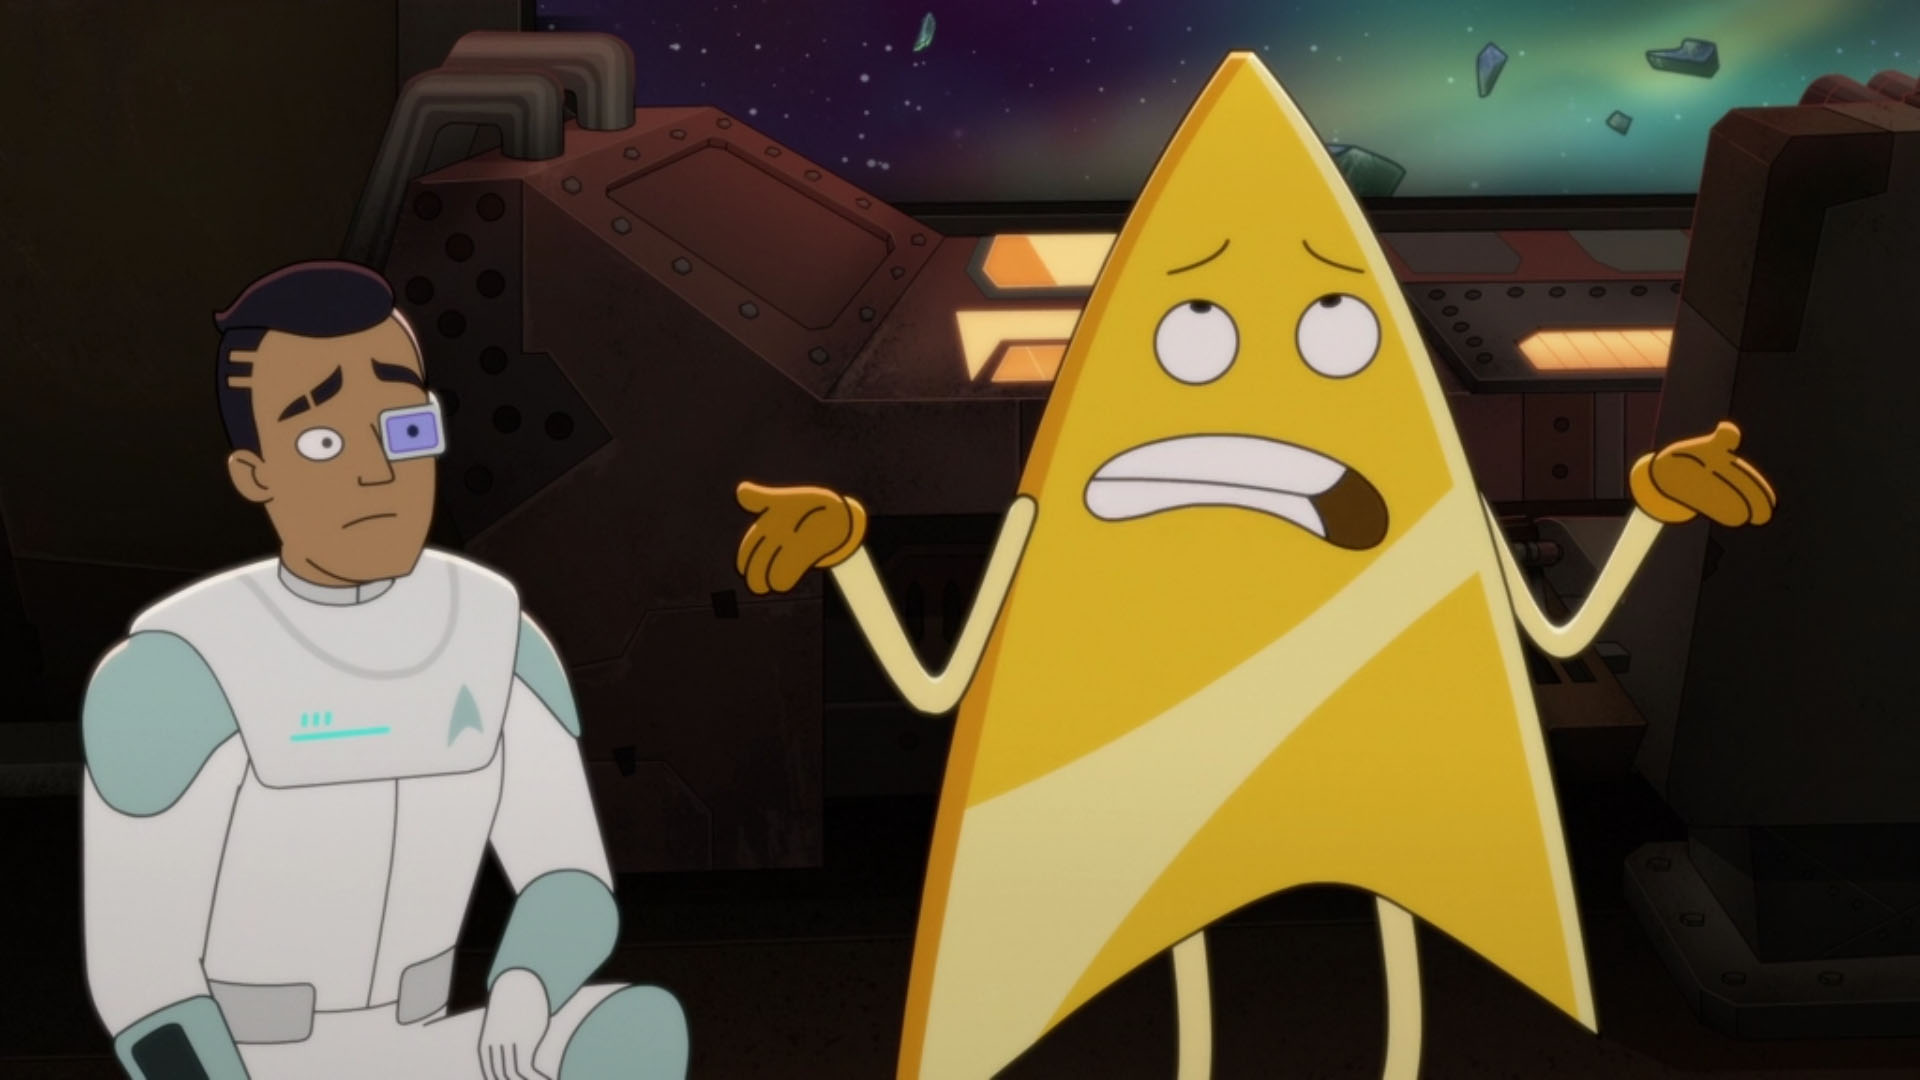
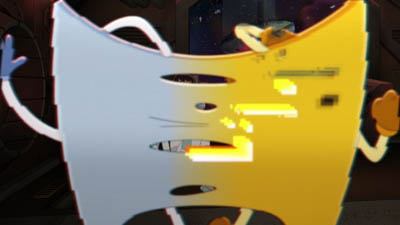
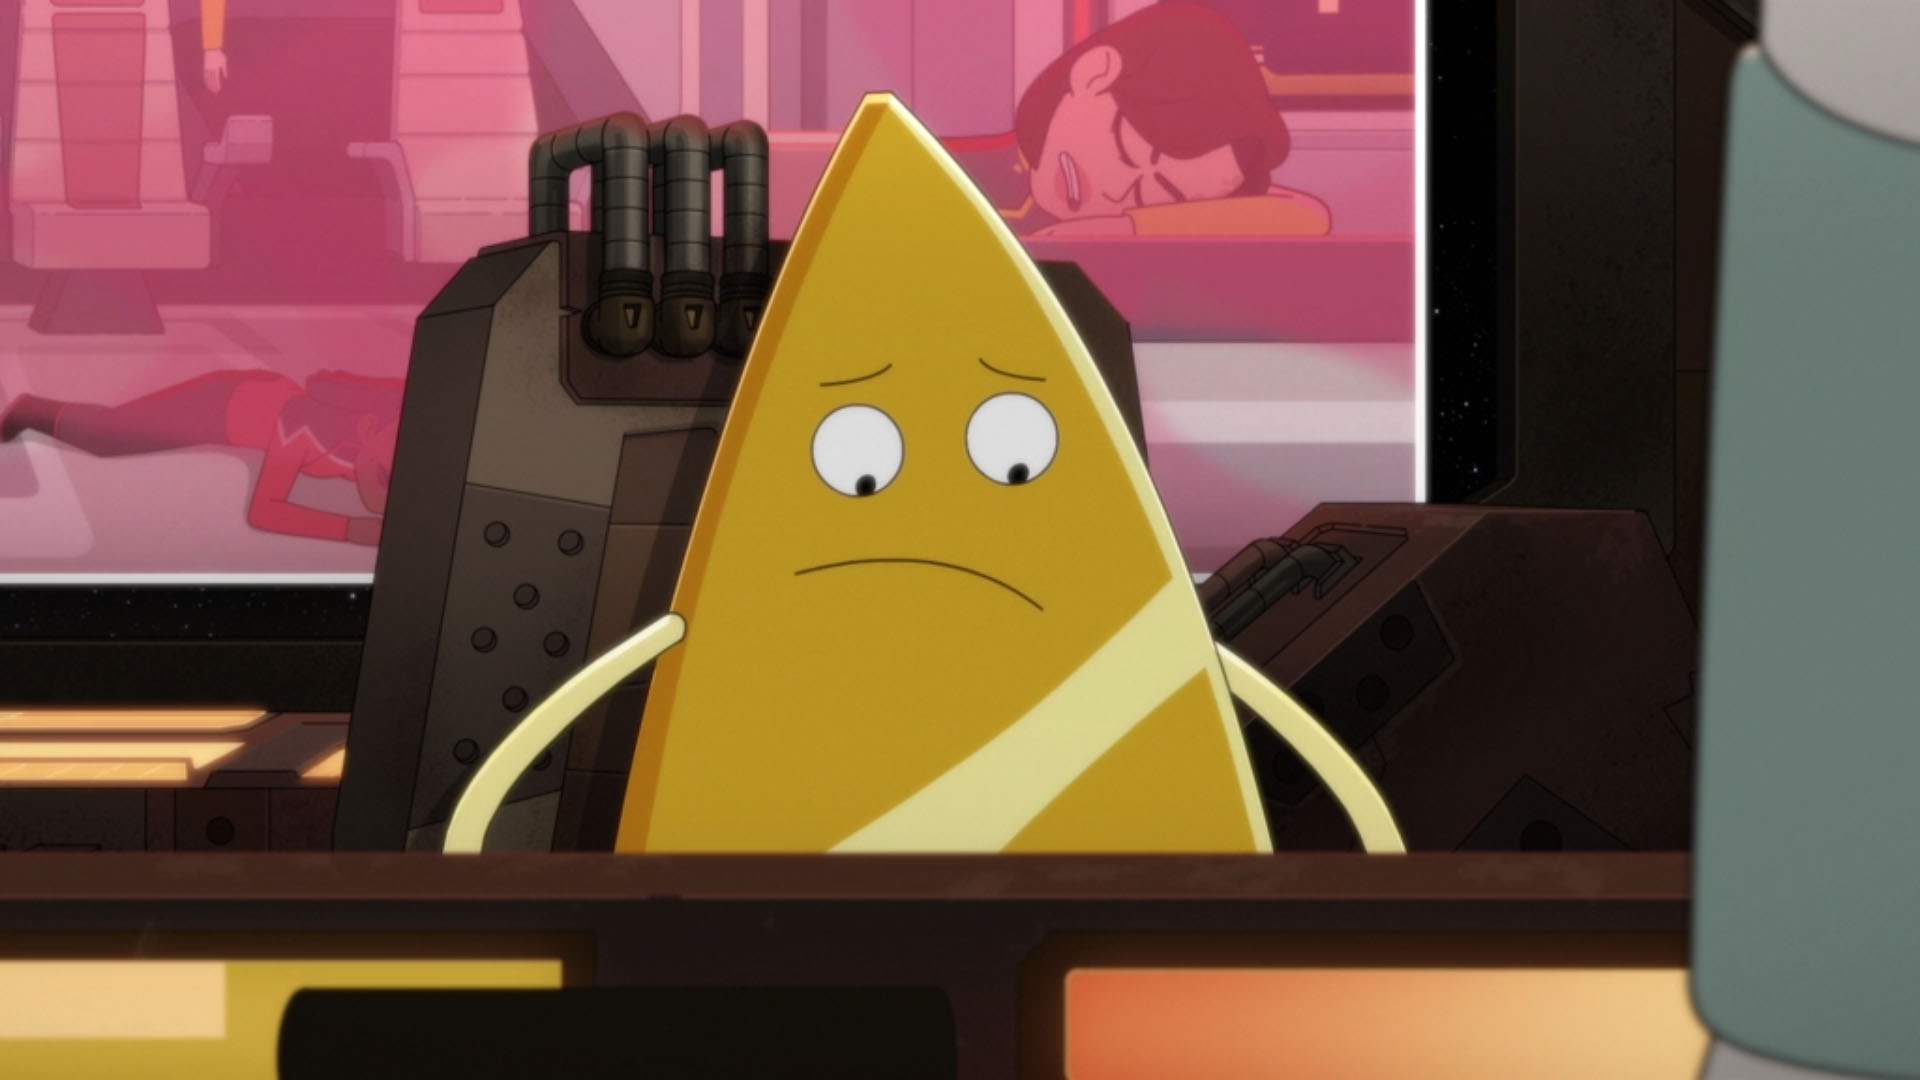
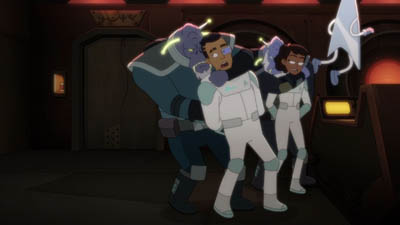
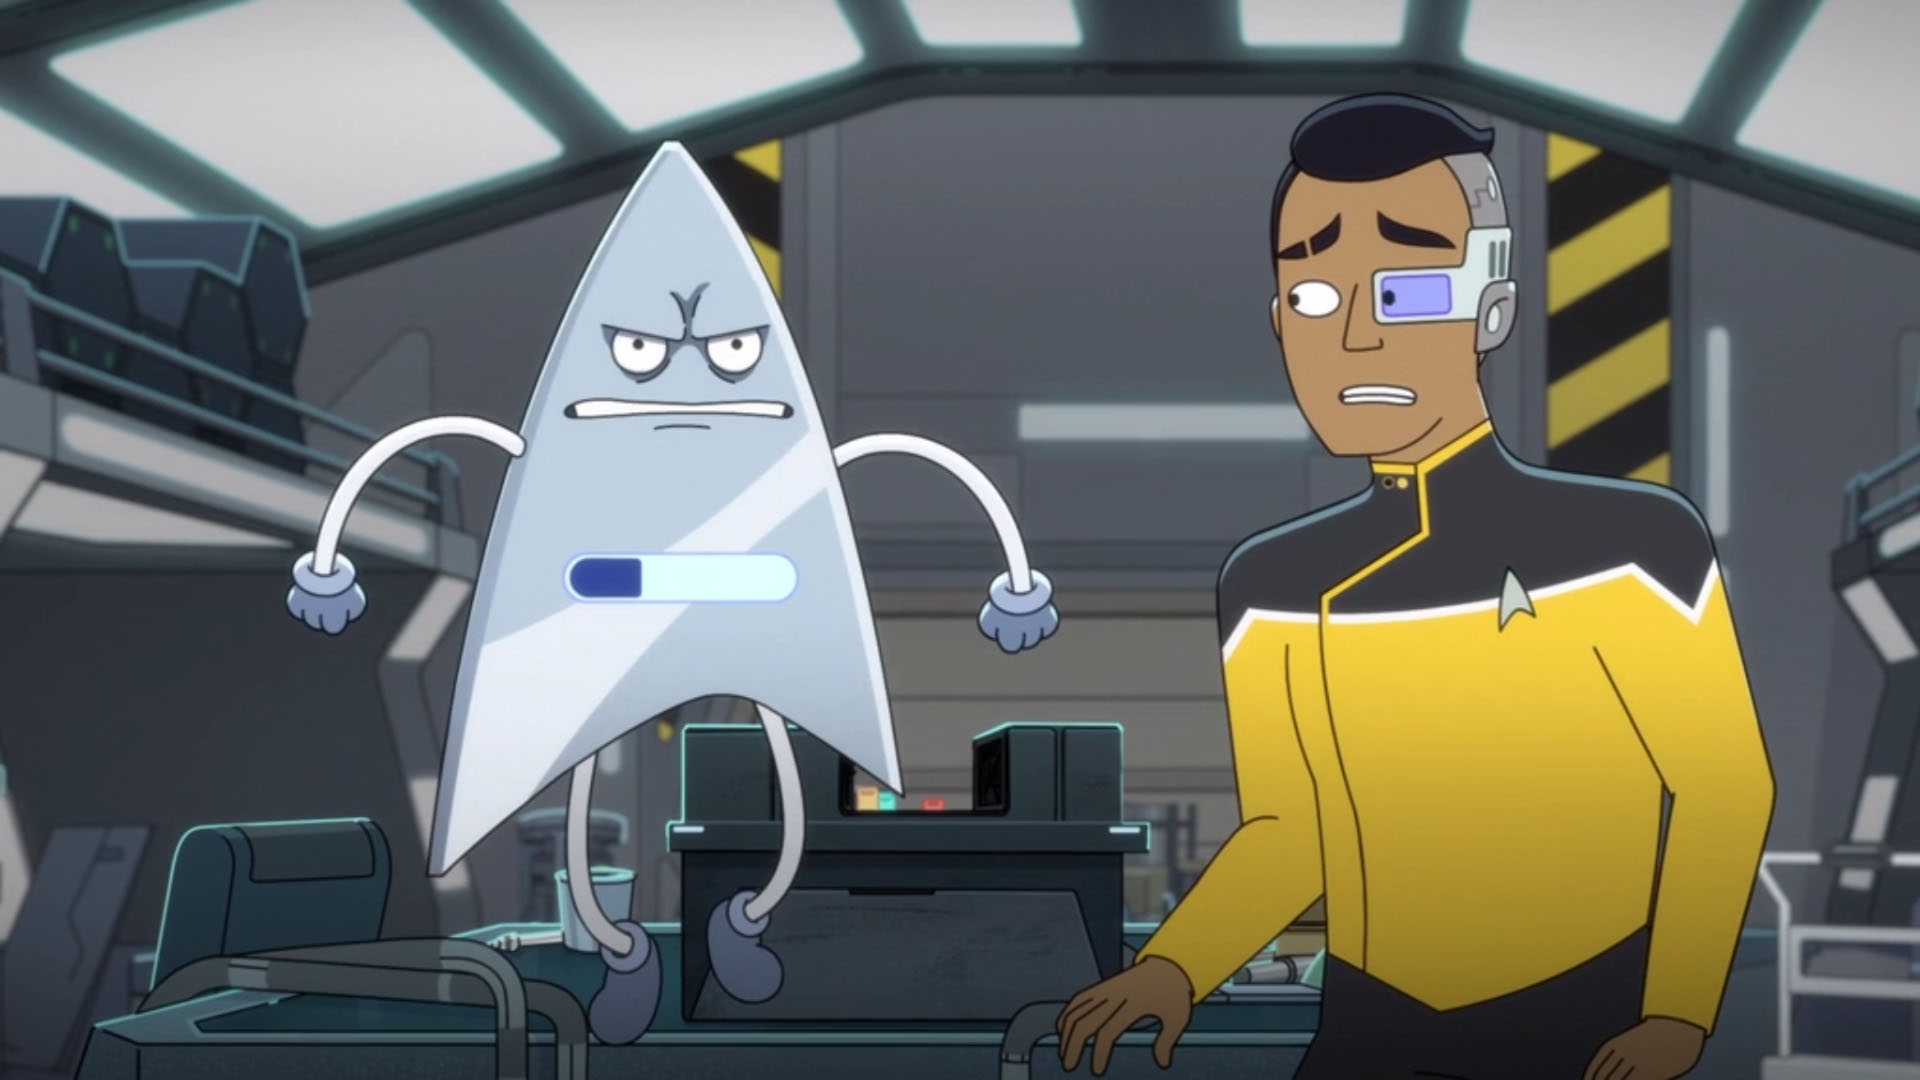
Back on the Cerritos, they encounter the Drookmani ship. Its captain desperately warns about “the triangle demon” but is electrocuted by Badgey, who tells Rutherford to prepare to die. The Drookmani ship fires on the Cerritos. Badgey anticipates all their tactics. Rutherford and Mariner are captured by Badgey, who explains he can appear in person thanks to scavenged holo-emitters throughout the ship. Surprising Badgey, Rutherford hugs him, causing glitches.
![]()
[ Screencap Index ]
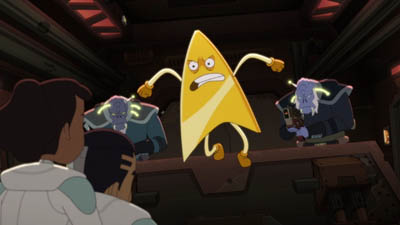
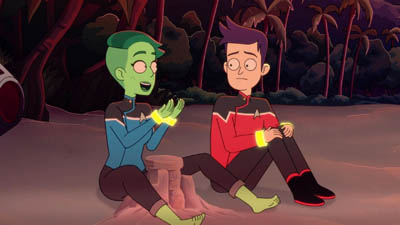
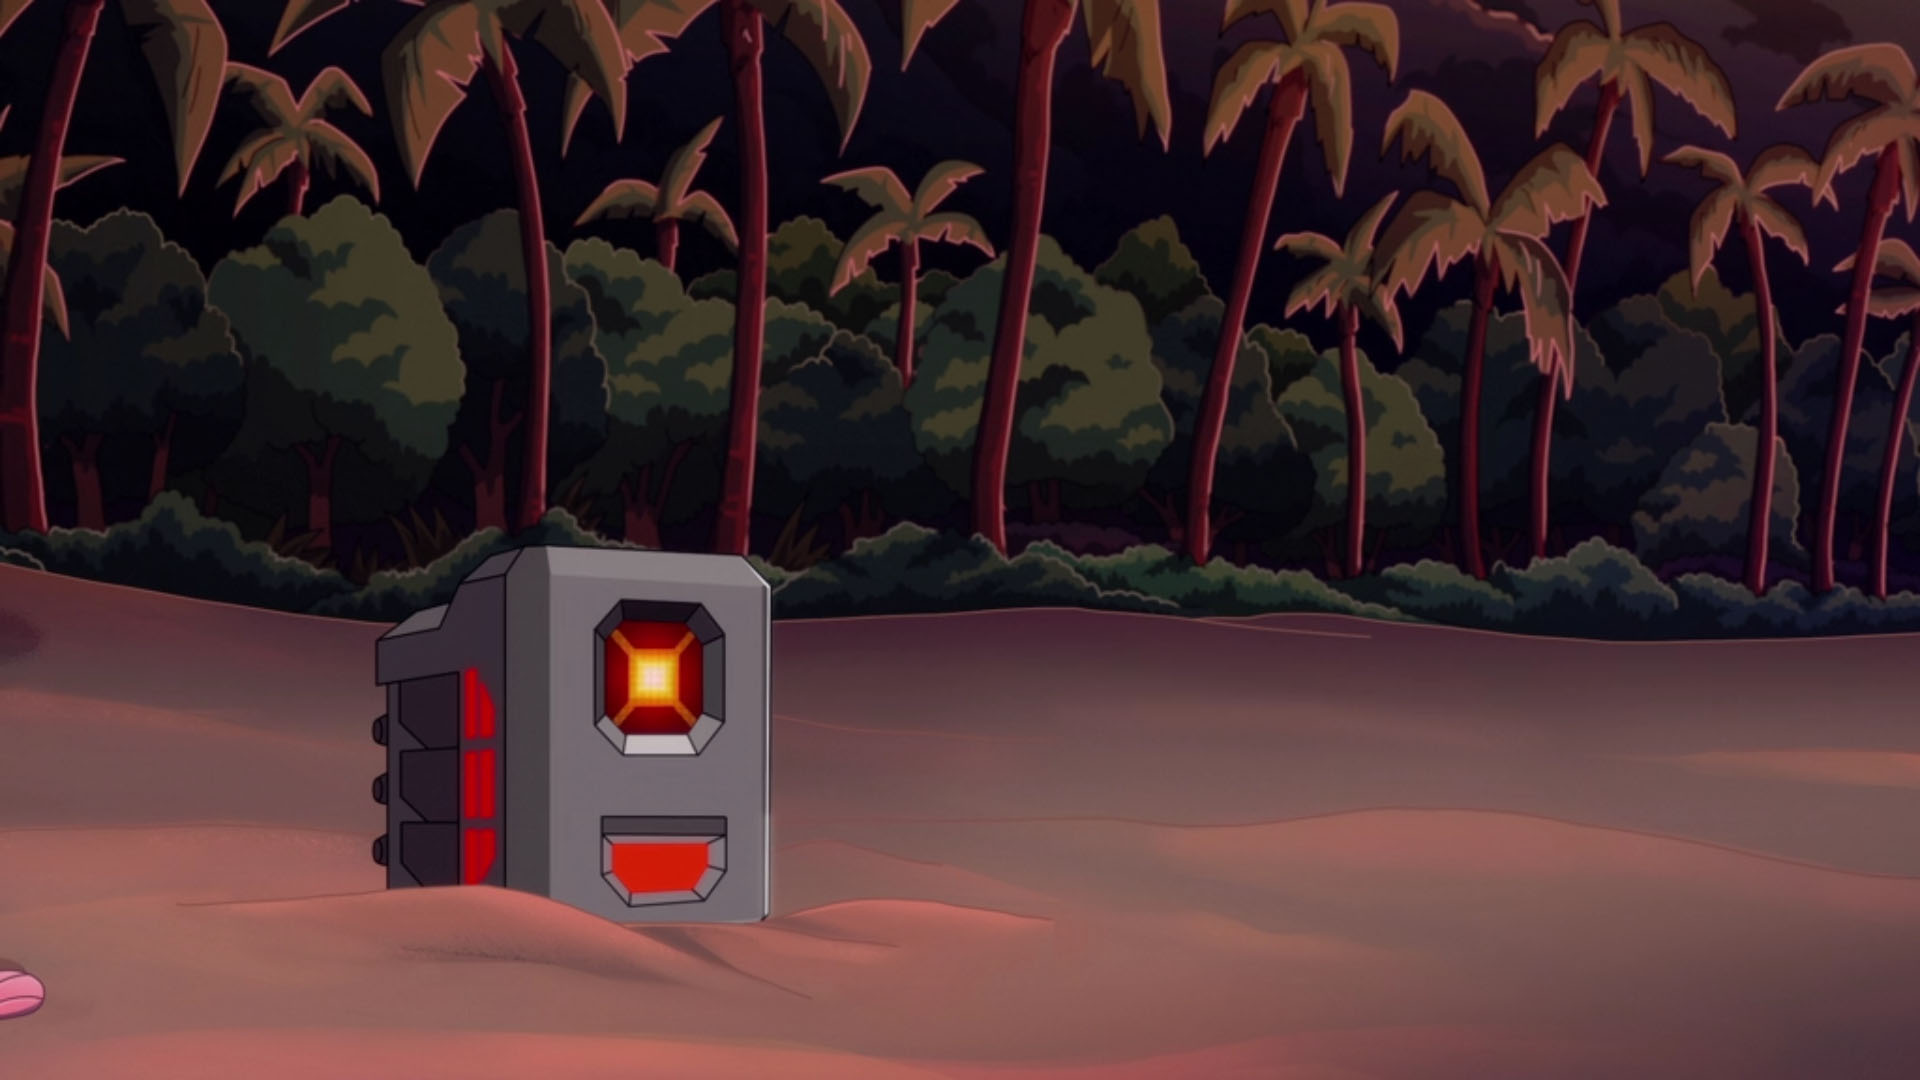
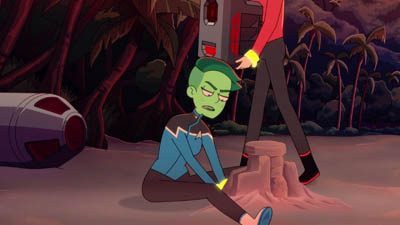
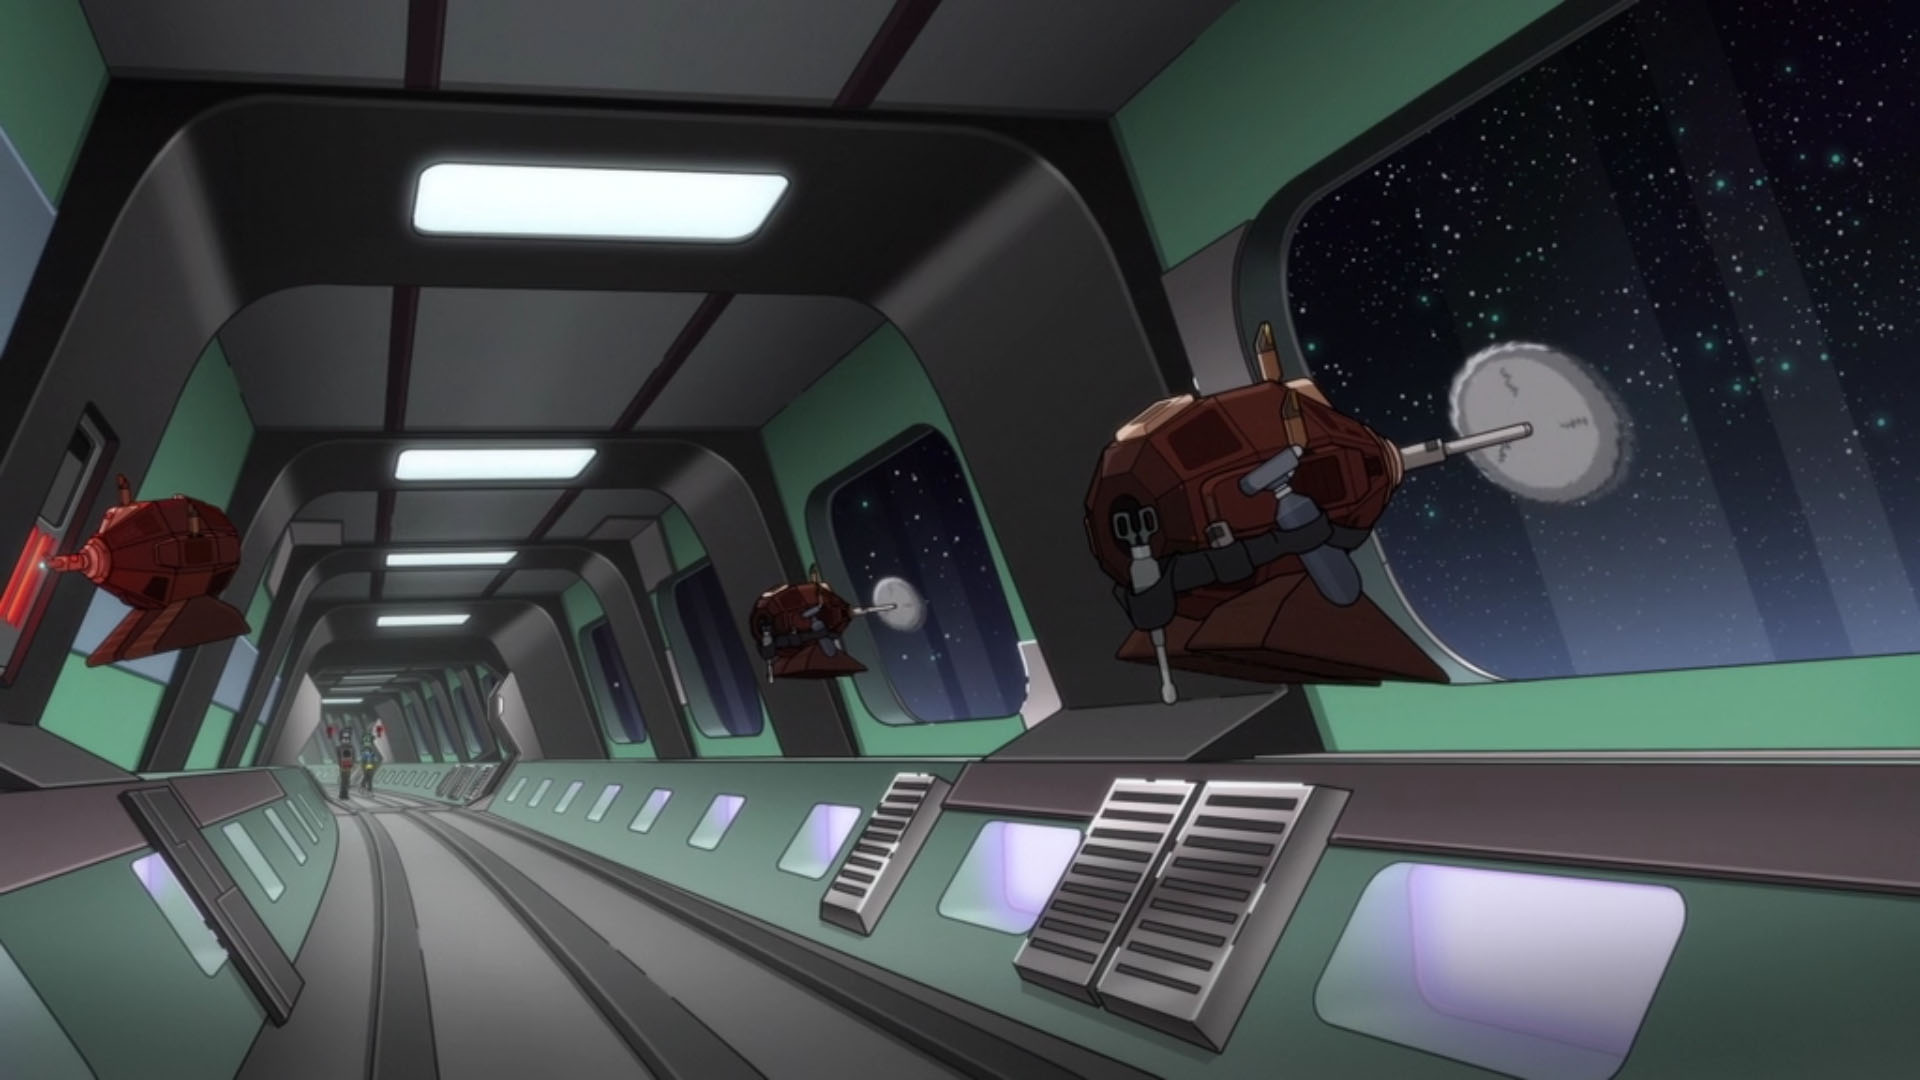
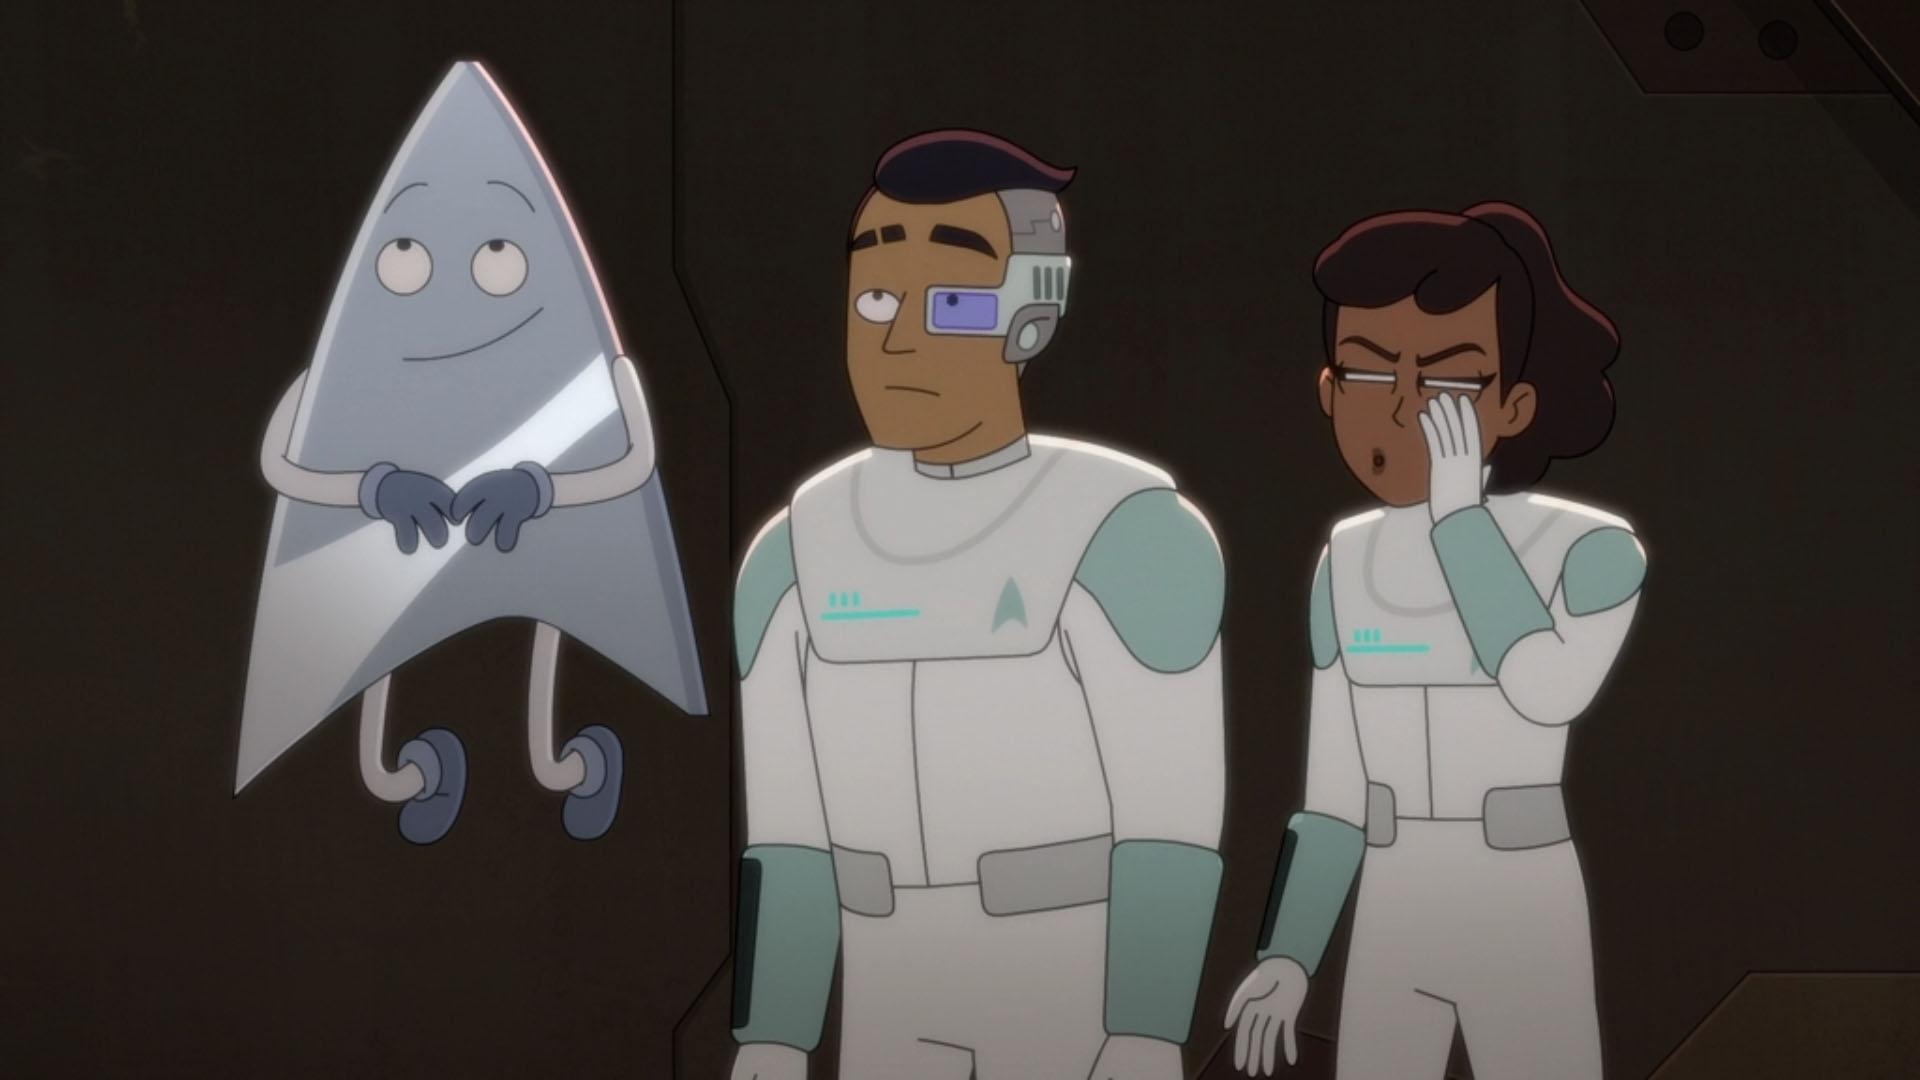
On a shuttle, Agimus deploys drones to free himself and take control. He’s glad Peanut Hamper’s hearing went well, signifying their plan is working. While Badgey splits into a silver “Goodgey” and evil gold Badgey, Boimler, Tendi and Agimus land on a beach, awaiting Peanut Hamper. Tendi loves the sand, preferable to Orion’s jagged pebbles. A drone brings Peanut Hamper’s hoe, indicating that she has betrayed Agimus to conquer the planet Plymeria herself.
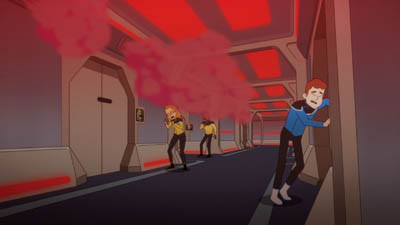
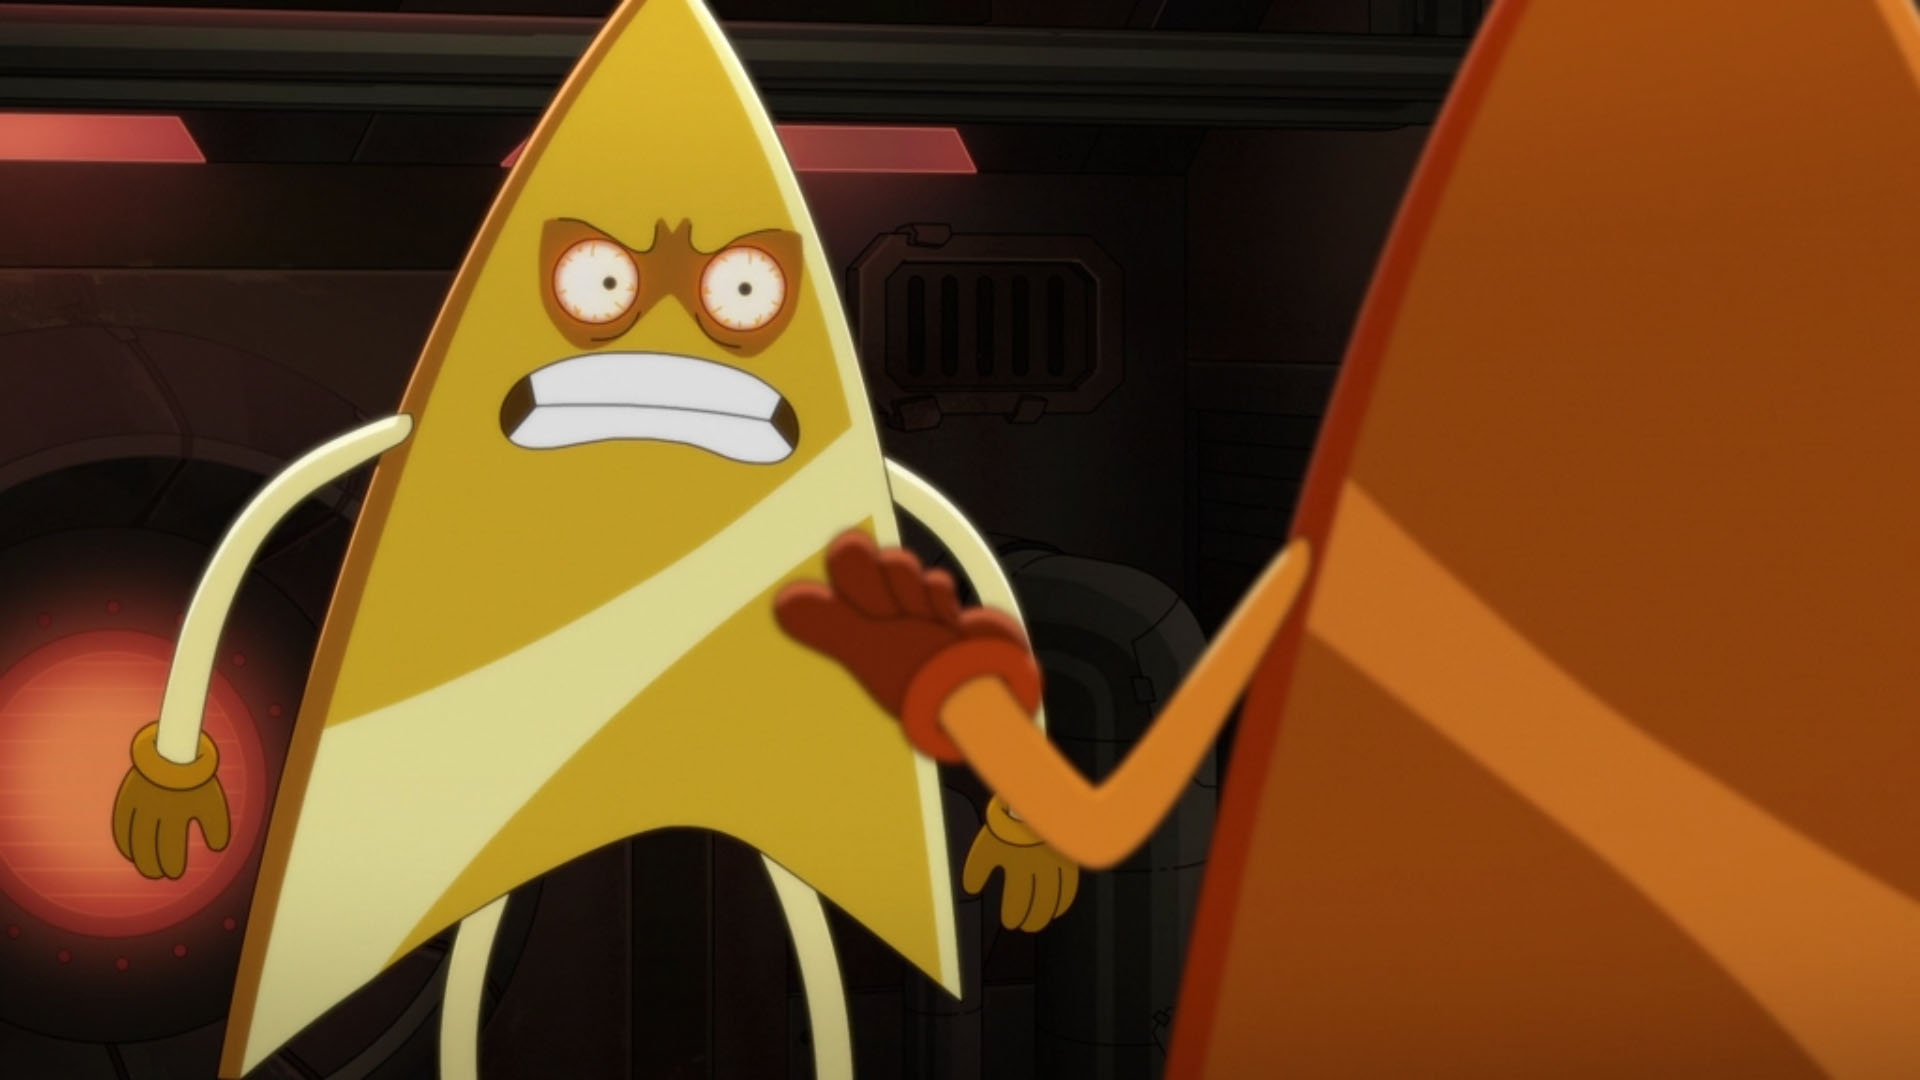
Badgey seizes the Cerritos’ systems and releases deadly neurozine gas. Rutherford convinces him that, logically, this won’t gain him anything, so he retracts the gas, then realizes he’s been had again and spawns a bronze “Logic-y.” Badgey then rants that revenge feels good, wanting to kill the Federation’s entire populace. Uploading his code to subspace will enable Badgey to cause disasters across the Federation. Rutherford regrets treating him more like an experiment than a son but Mariner reminds Rutherford that Tendi loves how he sticks with experiments. Logic-y announces he has a plan and re-merges with Badgey. Badgey pulls Logic-y out of himself and kills him, planning to take the Drookmani ship to warp 9.9 and spread his code through subspace.
On Plymeria, Agimus has quickly taken over but he is depressed, missing Peanut Hamper. Tendi finds, through Daystrom’s parole database, that she’s on Tyrus VIIA, a remote research station, possibly plotting something more devious than Agimus. On Tyrus VIIA, Agimus sees exocomps apparently enslaved and vows to free them. They include Peanut Hamper, who once enjoyed his company but realized her parole speech wasn’t fake — she’s not into world domination. Agimus feels likewise.
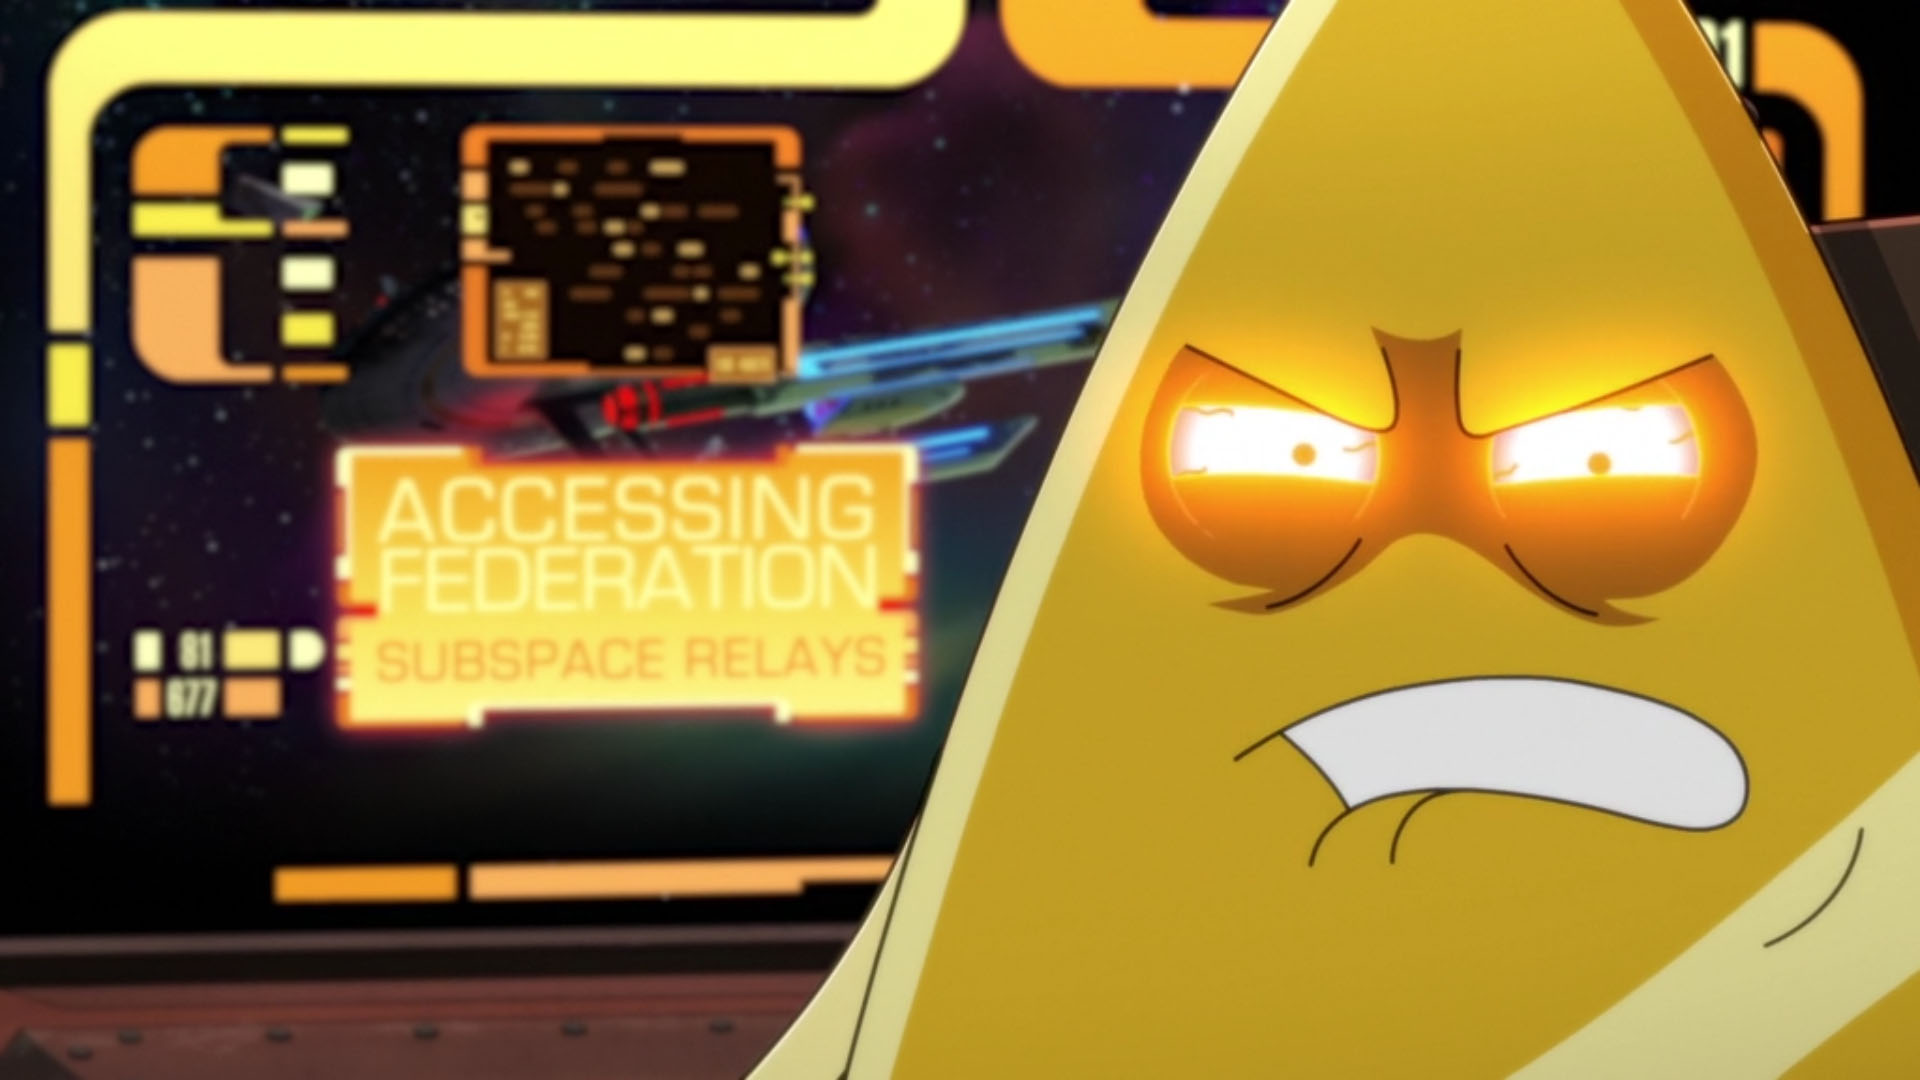
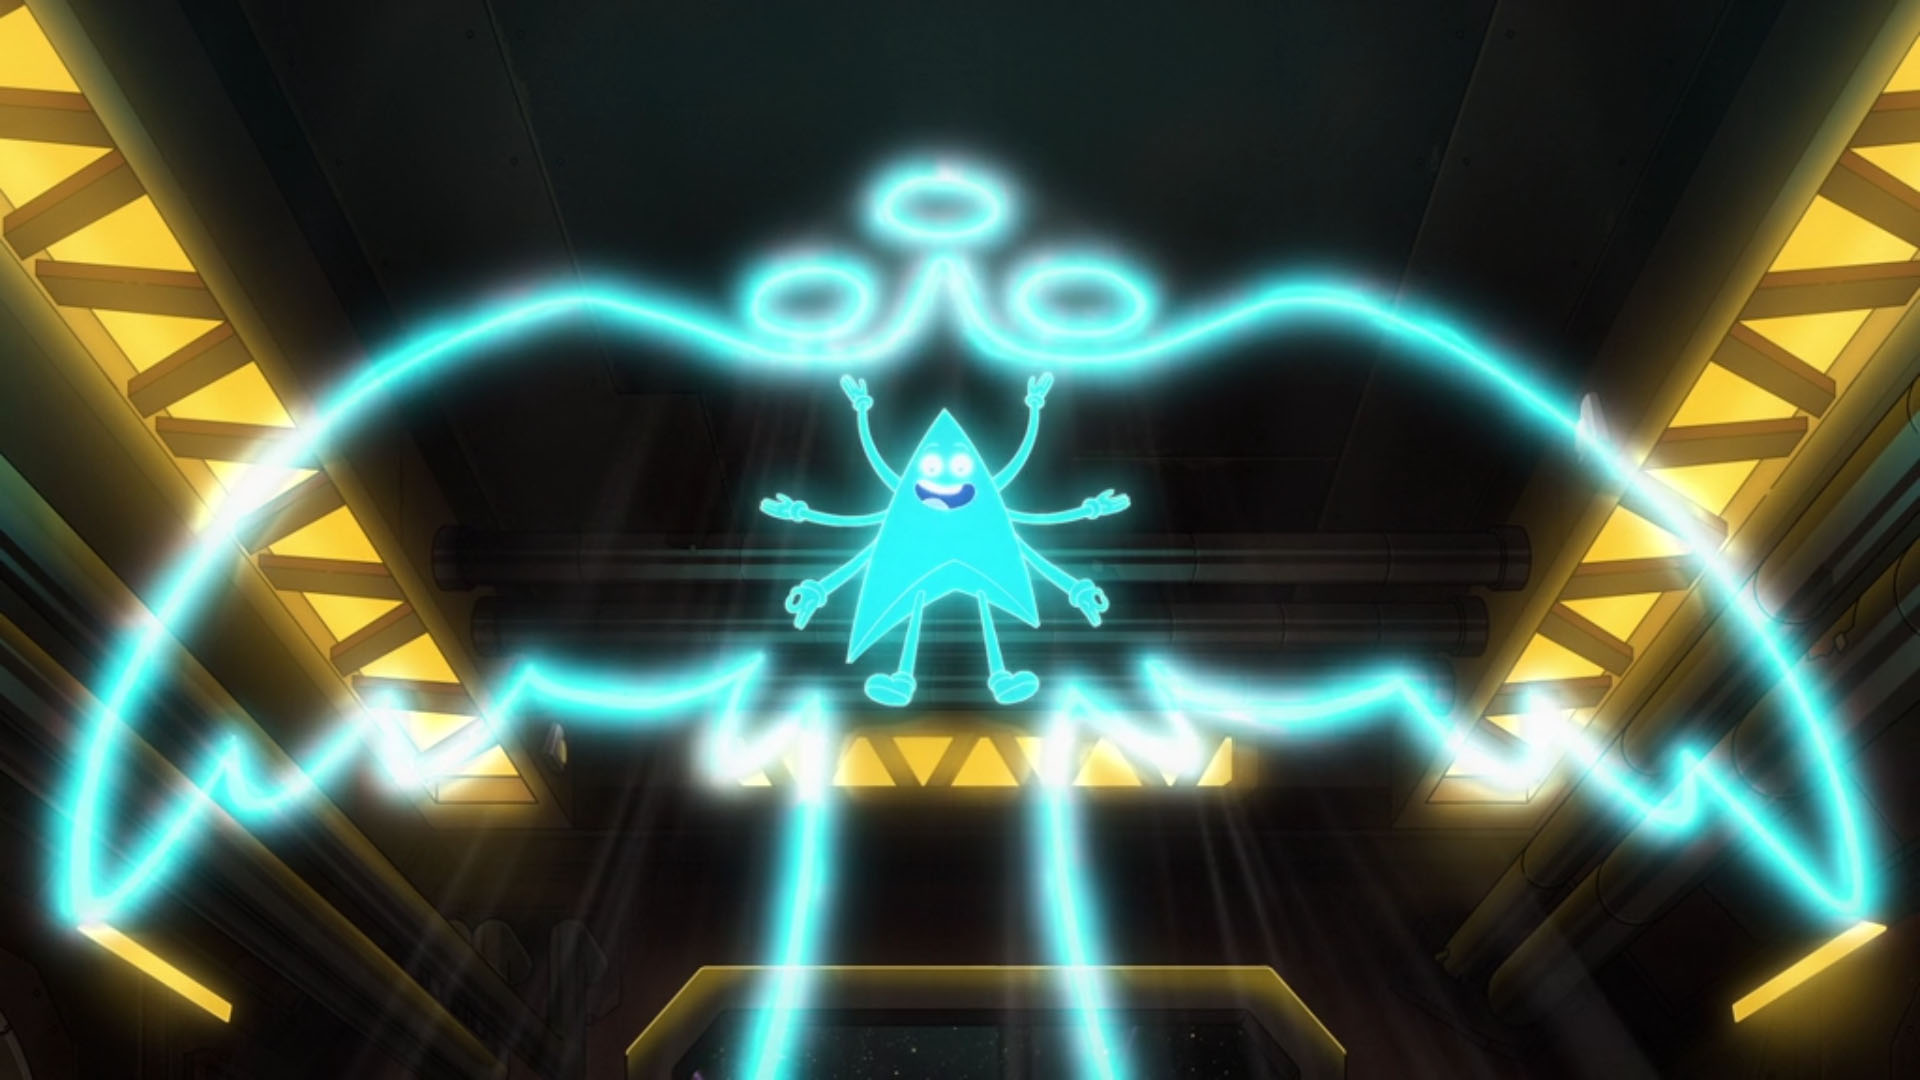
Badgey transfers his code to subspace. He spreads everywhere, across all of time and space. By knowing everything, he ascends, complete with koala and mention of the Black Mountain.
Agimus is returned to his cell, planning rehabilitation to join Peanut Hamper. He apologetically admits that his drones did witness the Bynar incident. The culprit has stolen the ships it has targeted, leaving fake wreckage behind so they would appear destroyed.
Aboard the Cerritos, Rutherford tries his grappler again, which still goes wrong. He reveals that Goodgey is being used as guidance, much to his friends’ nervousness…


Trailer
 | Parth Ferengi's Heart Place (S4:E6) | ~ | Star Trek: Lower Decks Episode List | ~ | Caves (S4:E8) |